Crank Arm Protective Skin (Added New SRAM XX/SL Crank Skin)
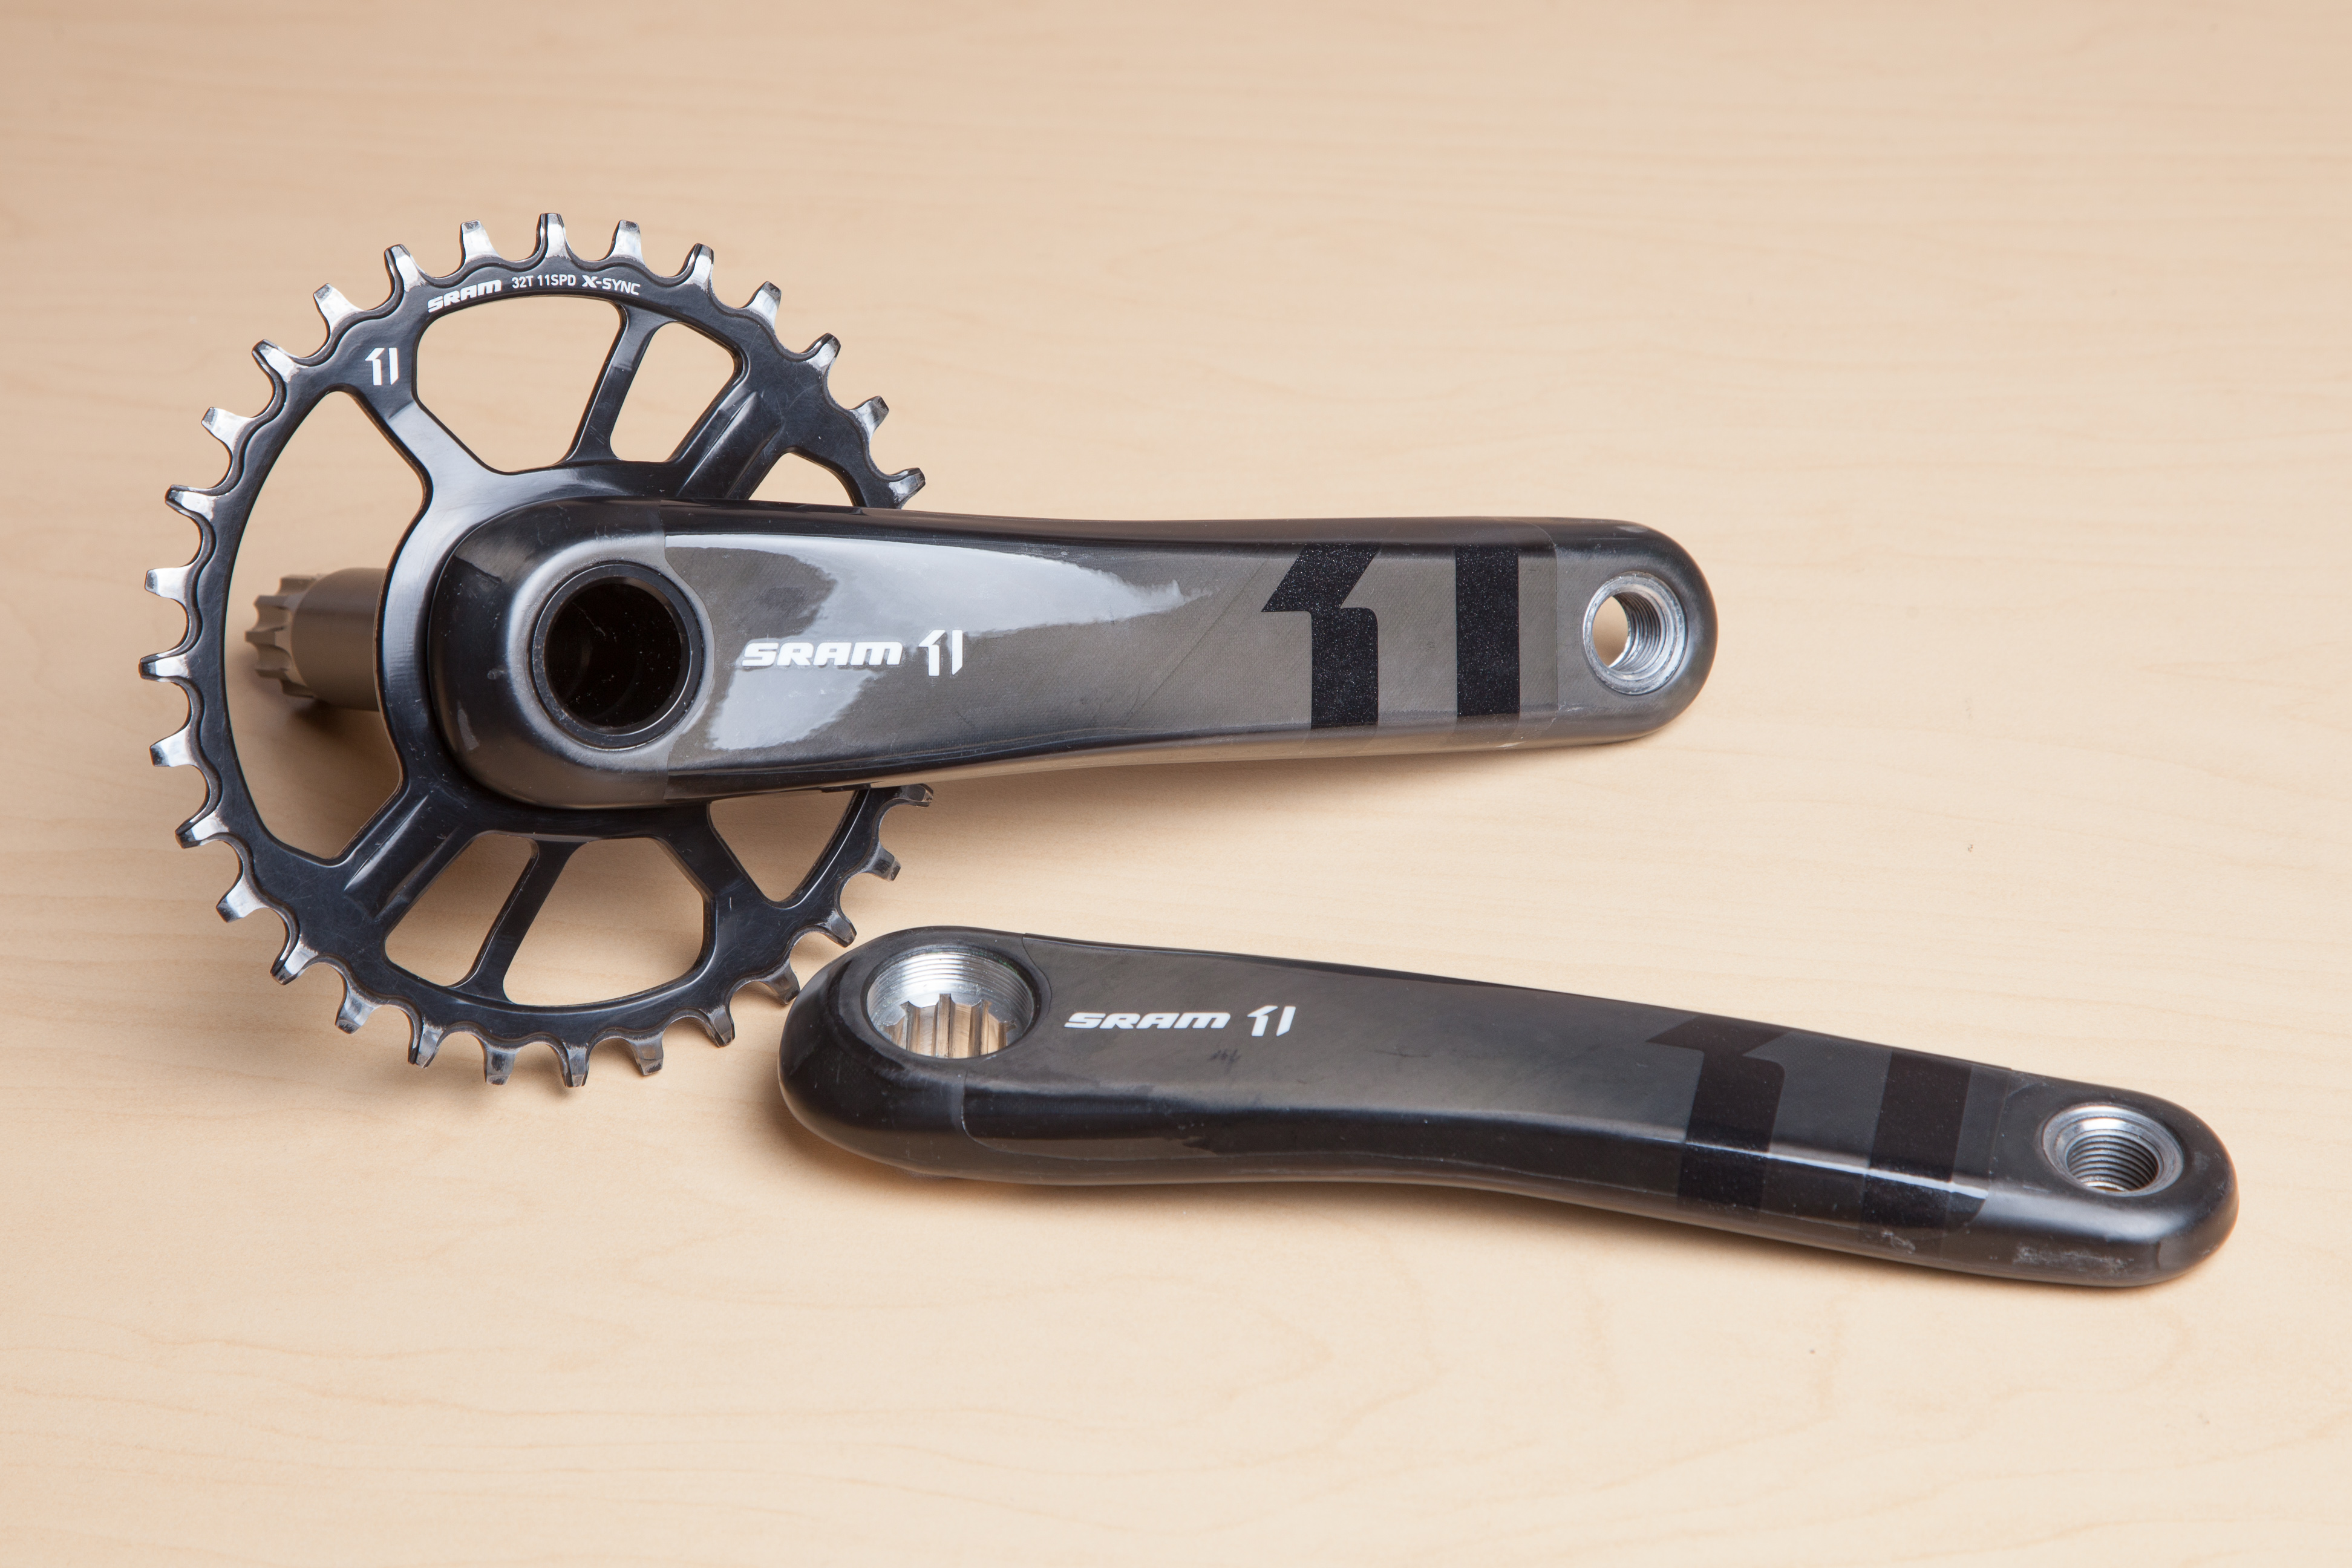
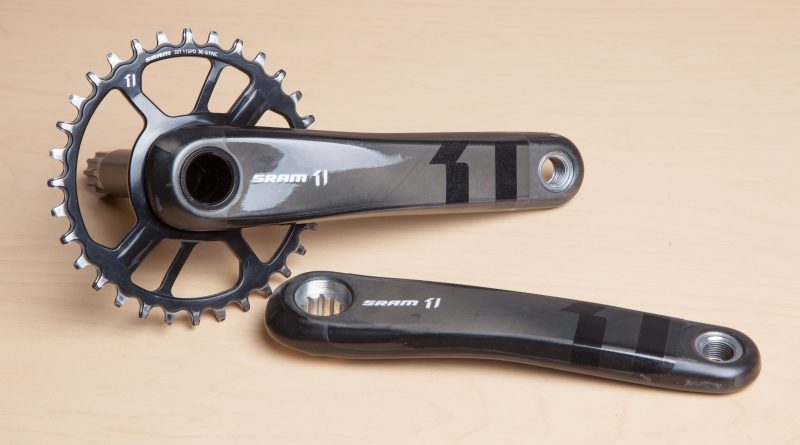
Just got shiny new carbon cranks? Don’t want it covered in scratches? Keep reading to create your own protective skin and learn how to install it. The template provided in this tutorial applies to the most common 175mm crank length. This skin does not provide full coverage as it leaves enough space for crank boots. This process shows the cranks are off the bike but it can be done with them still installed.
Items needed:
1) 3M Scotchgard Paint Protection Film. Amazon Link
2) Skin template for Old Carbon Cranks. Download here | Skin template for New SRAM Transmission XX/SL Carbon Cranks: Download here
3) Permanent maker or tracing pen
4) Scissors
5) Soapy water
6) Squeegee(Credit card works great)
7) OPTIONAL: Crank boots Amazon Link
Step 1: Trace and cut the skin
Download and print the skin template provided above. NOTE: When printing the PDF ensure to select “Actual Size” under Page Sizing and Handling. This ensures no scaling has taken place and you get a 1:1 print.

Once the template is printed, cut along the black line to get your stencil.
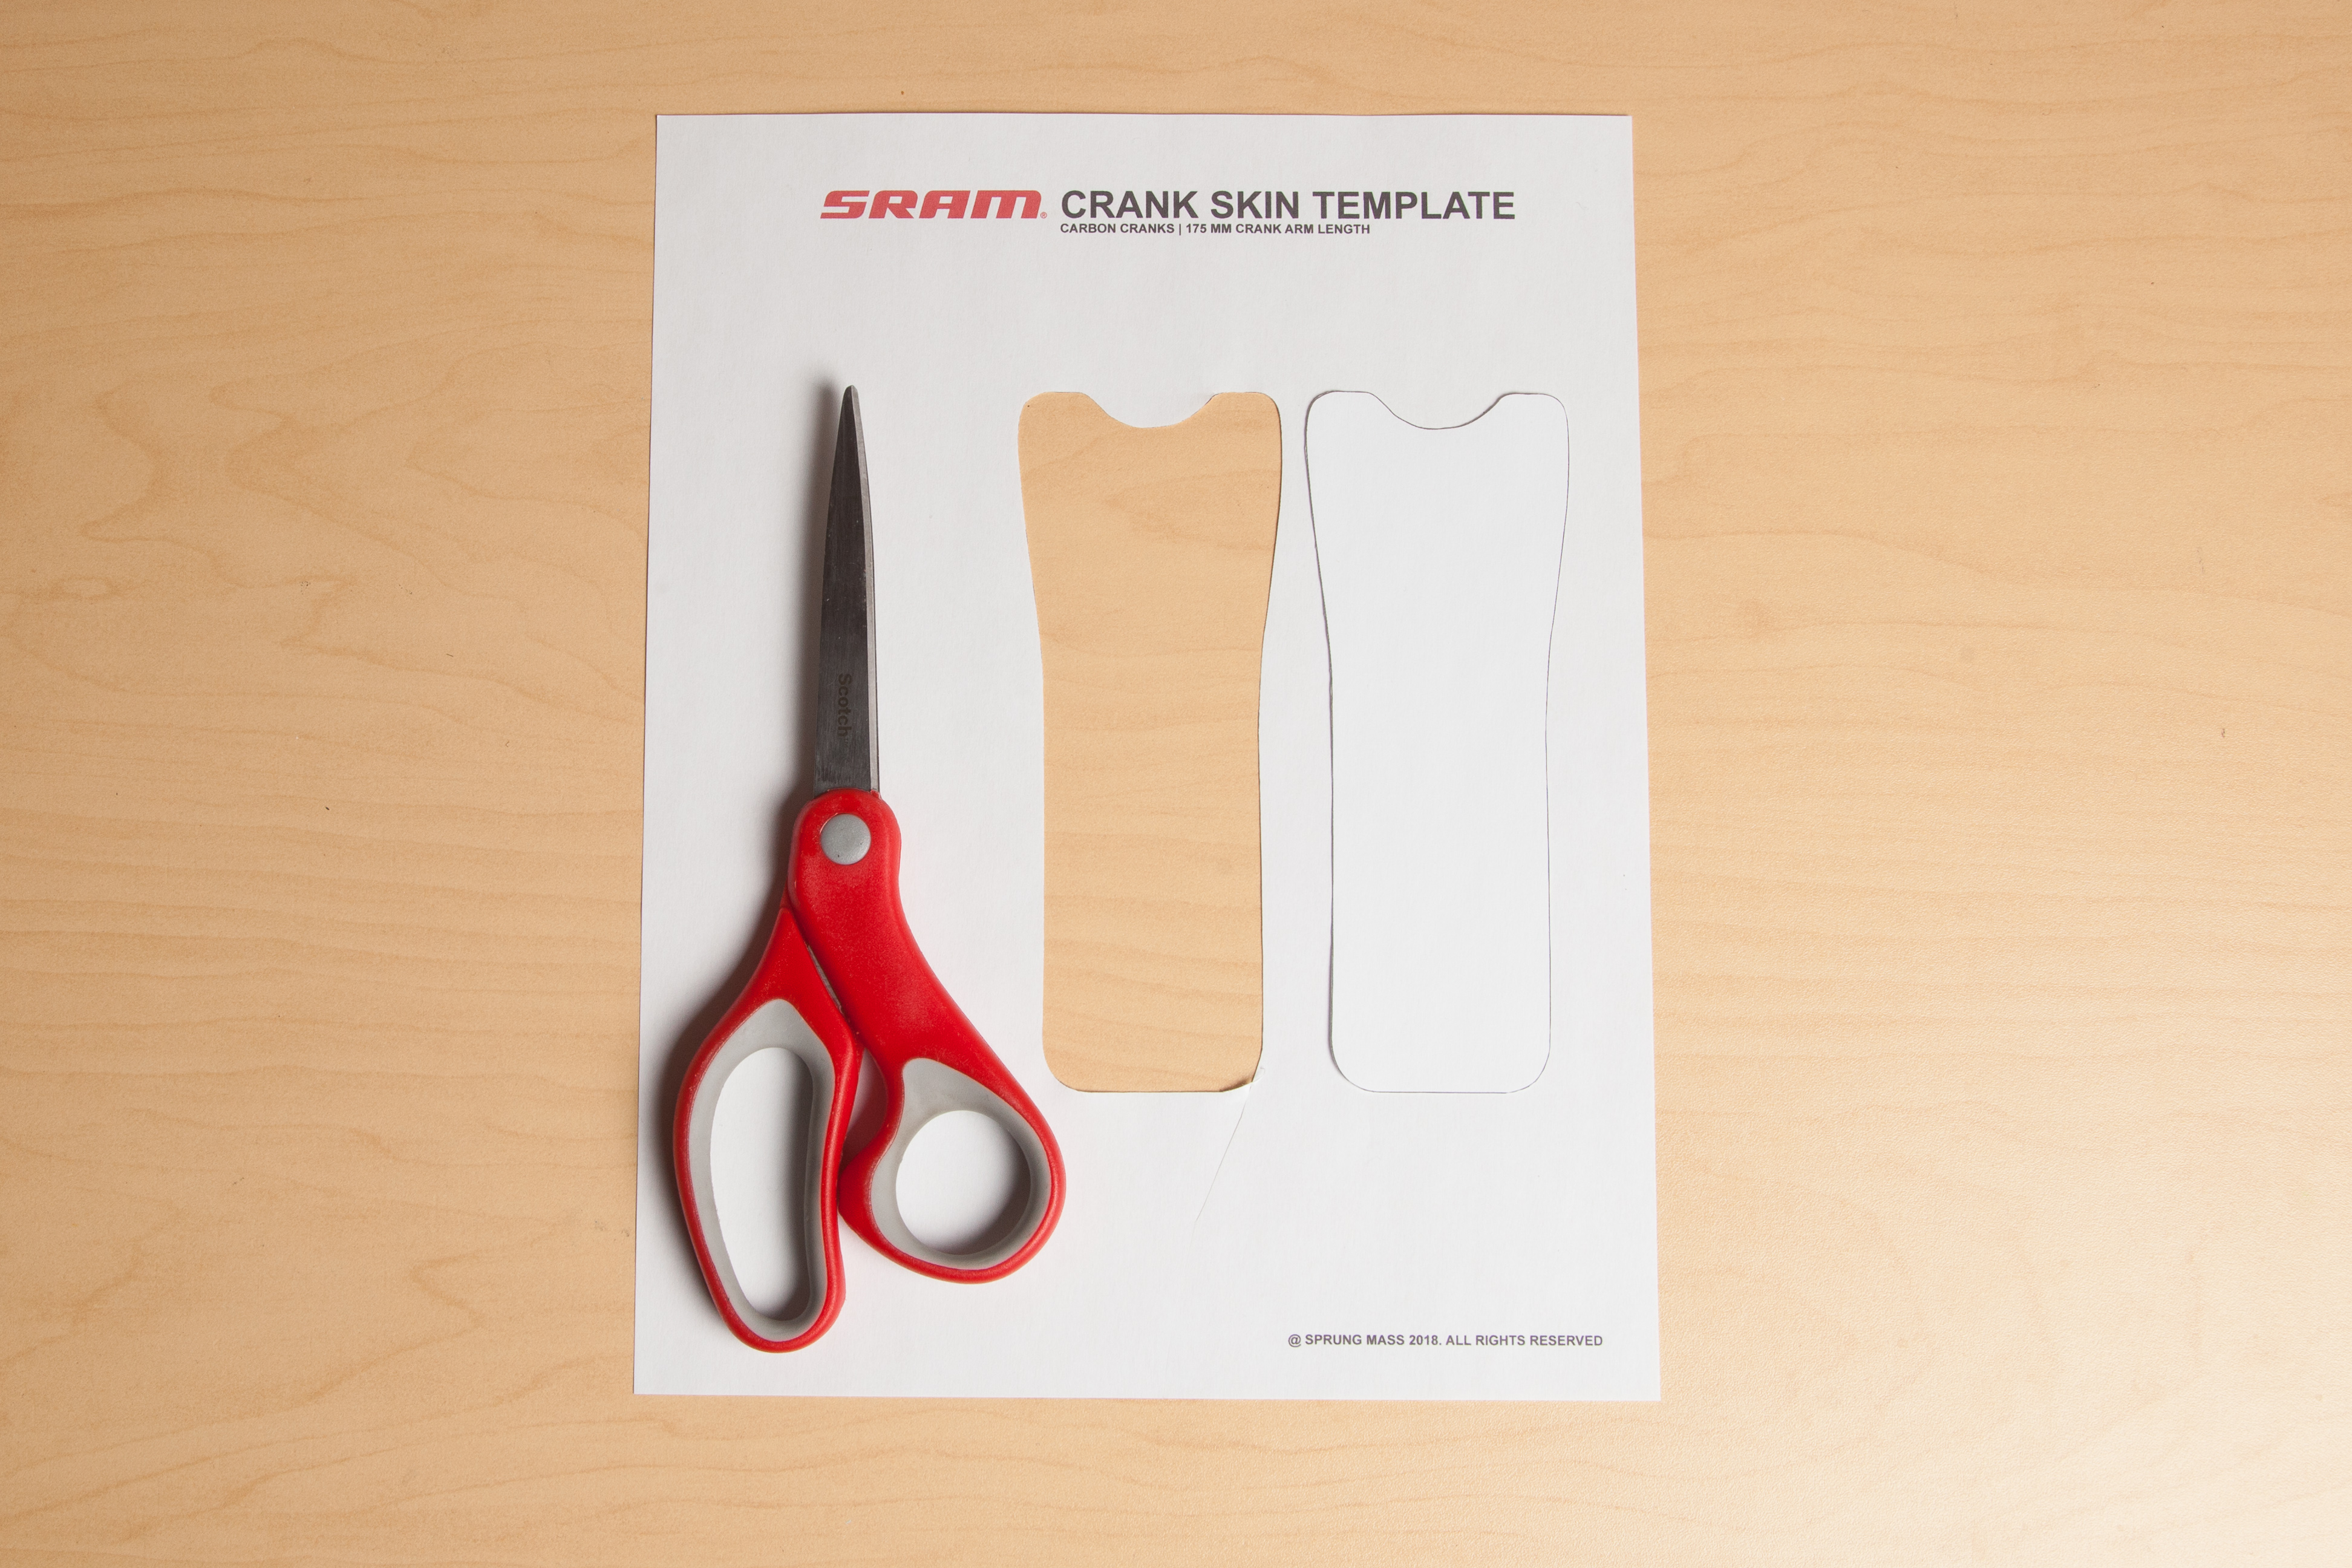
Place this stencil on the backing side of 3M Scotchgard and trace it out. Making another trace for the second crank arm.
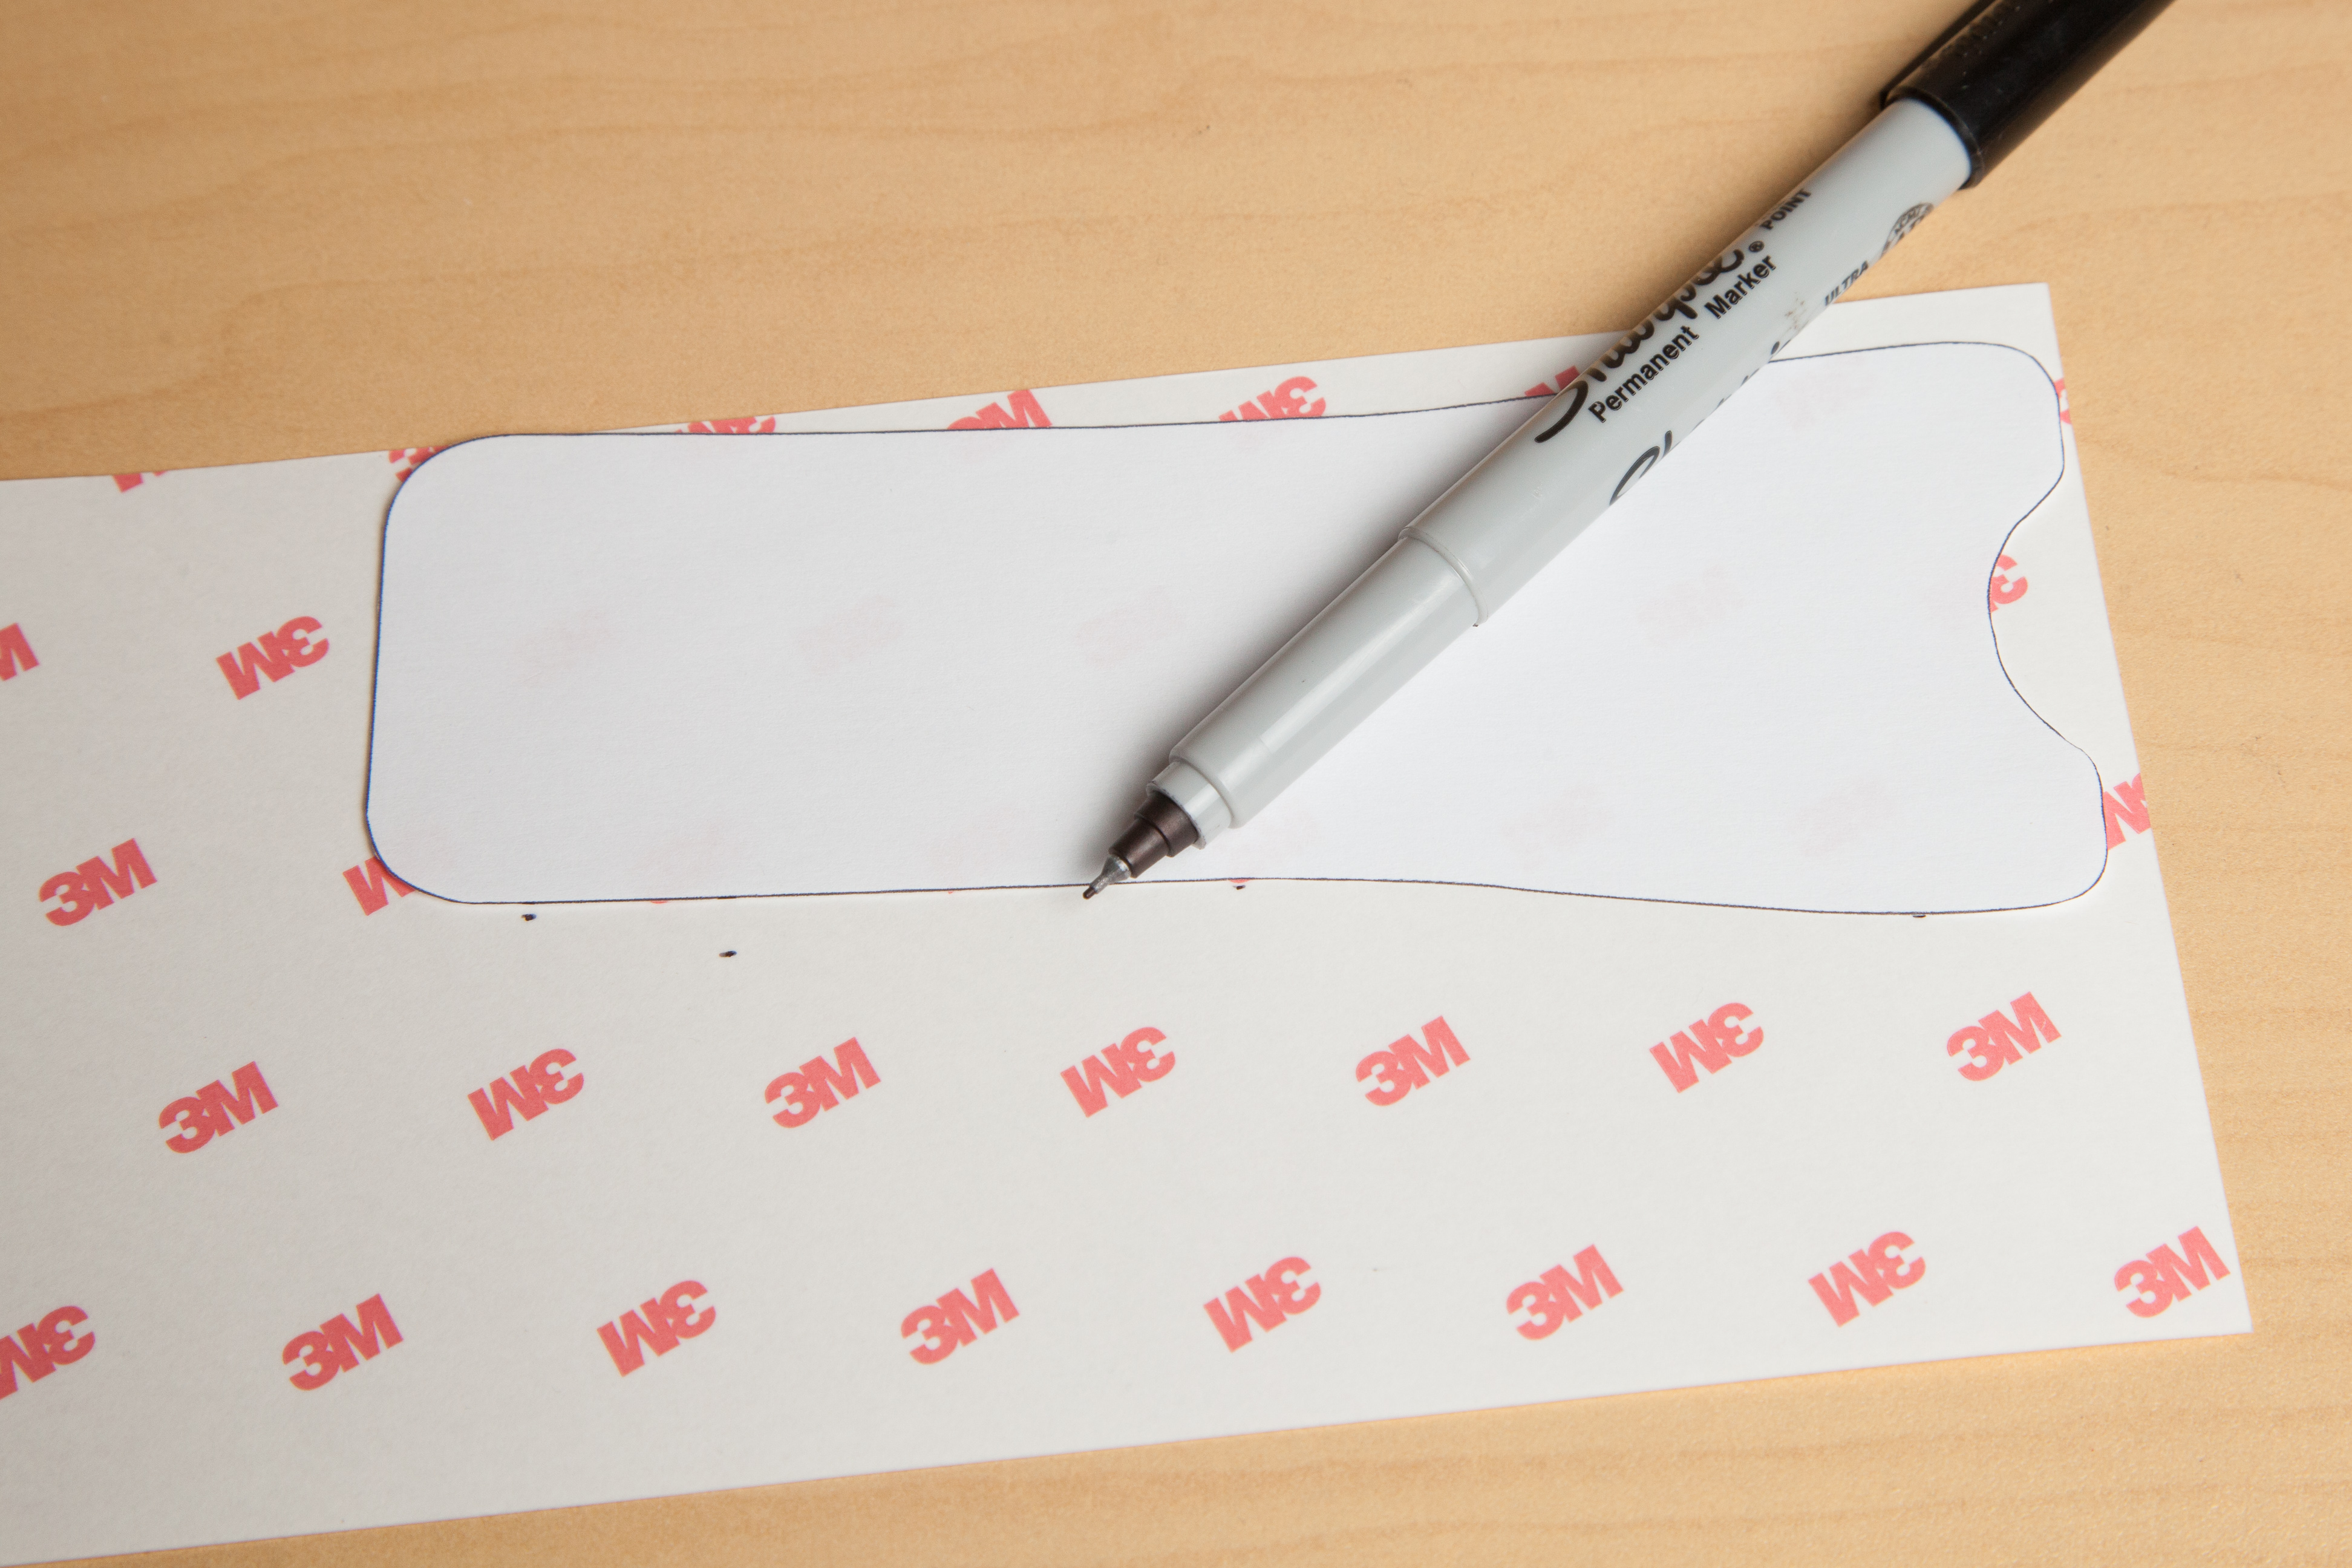
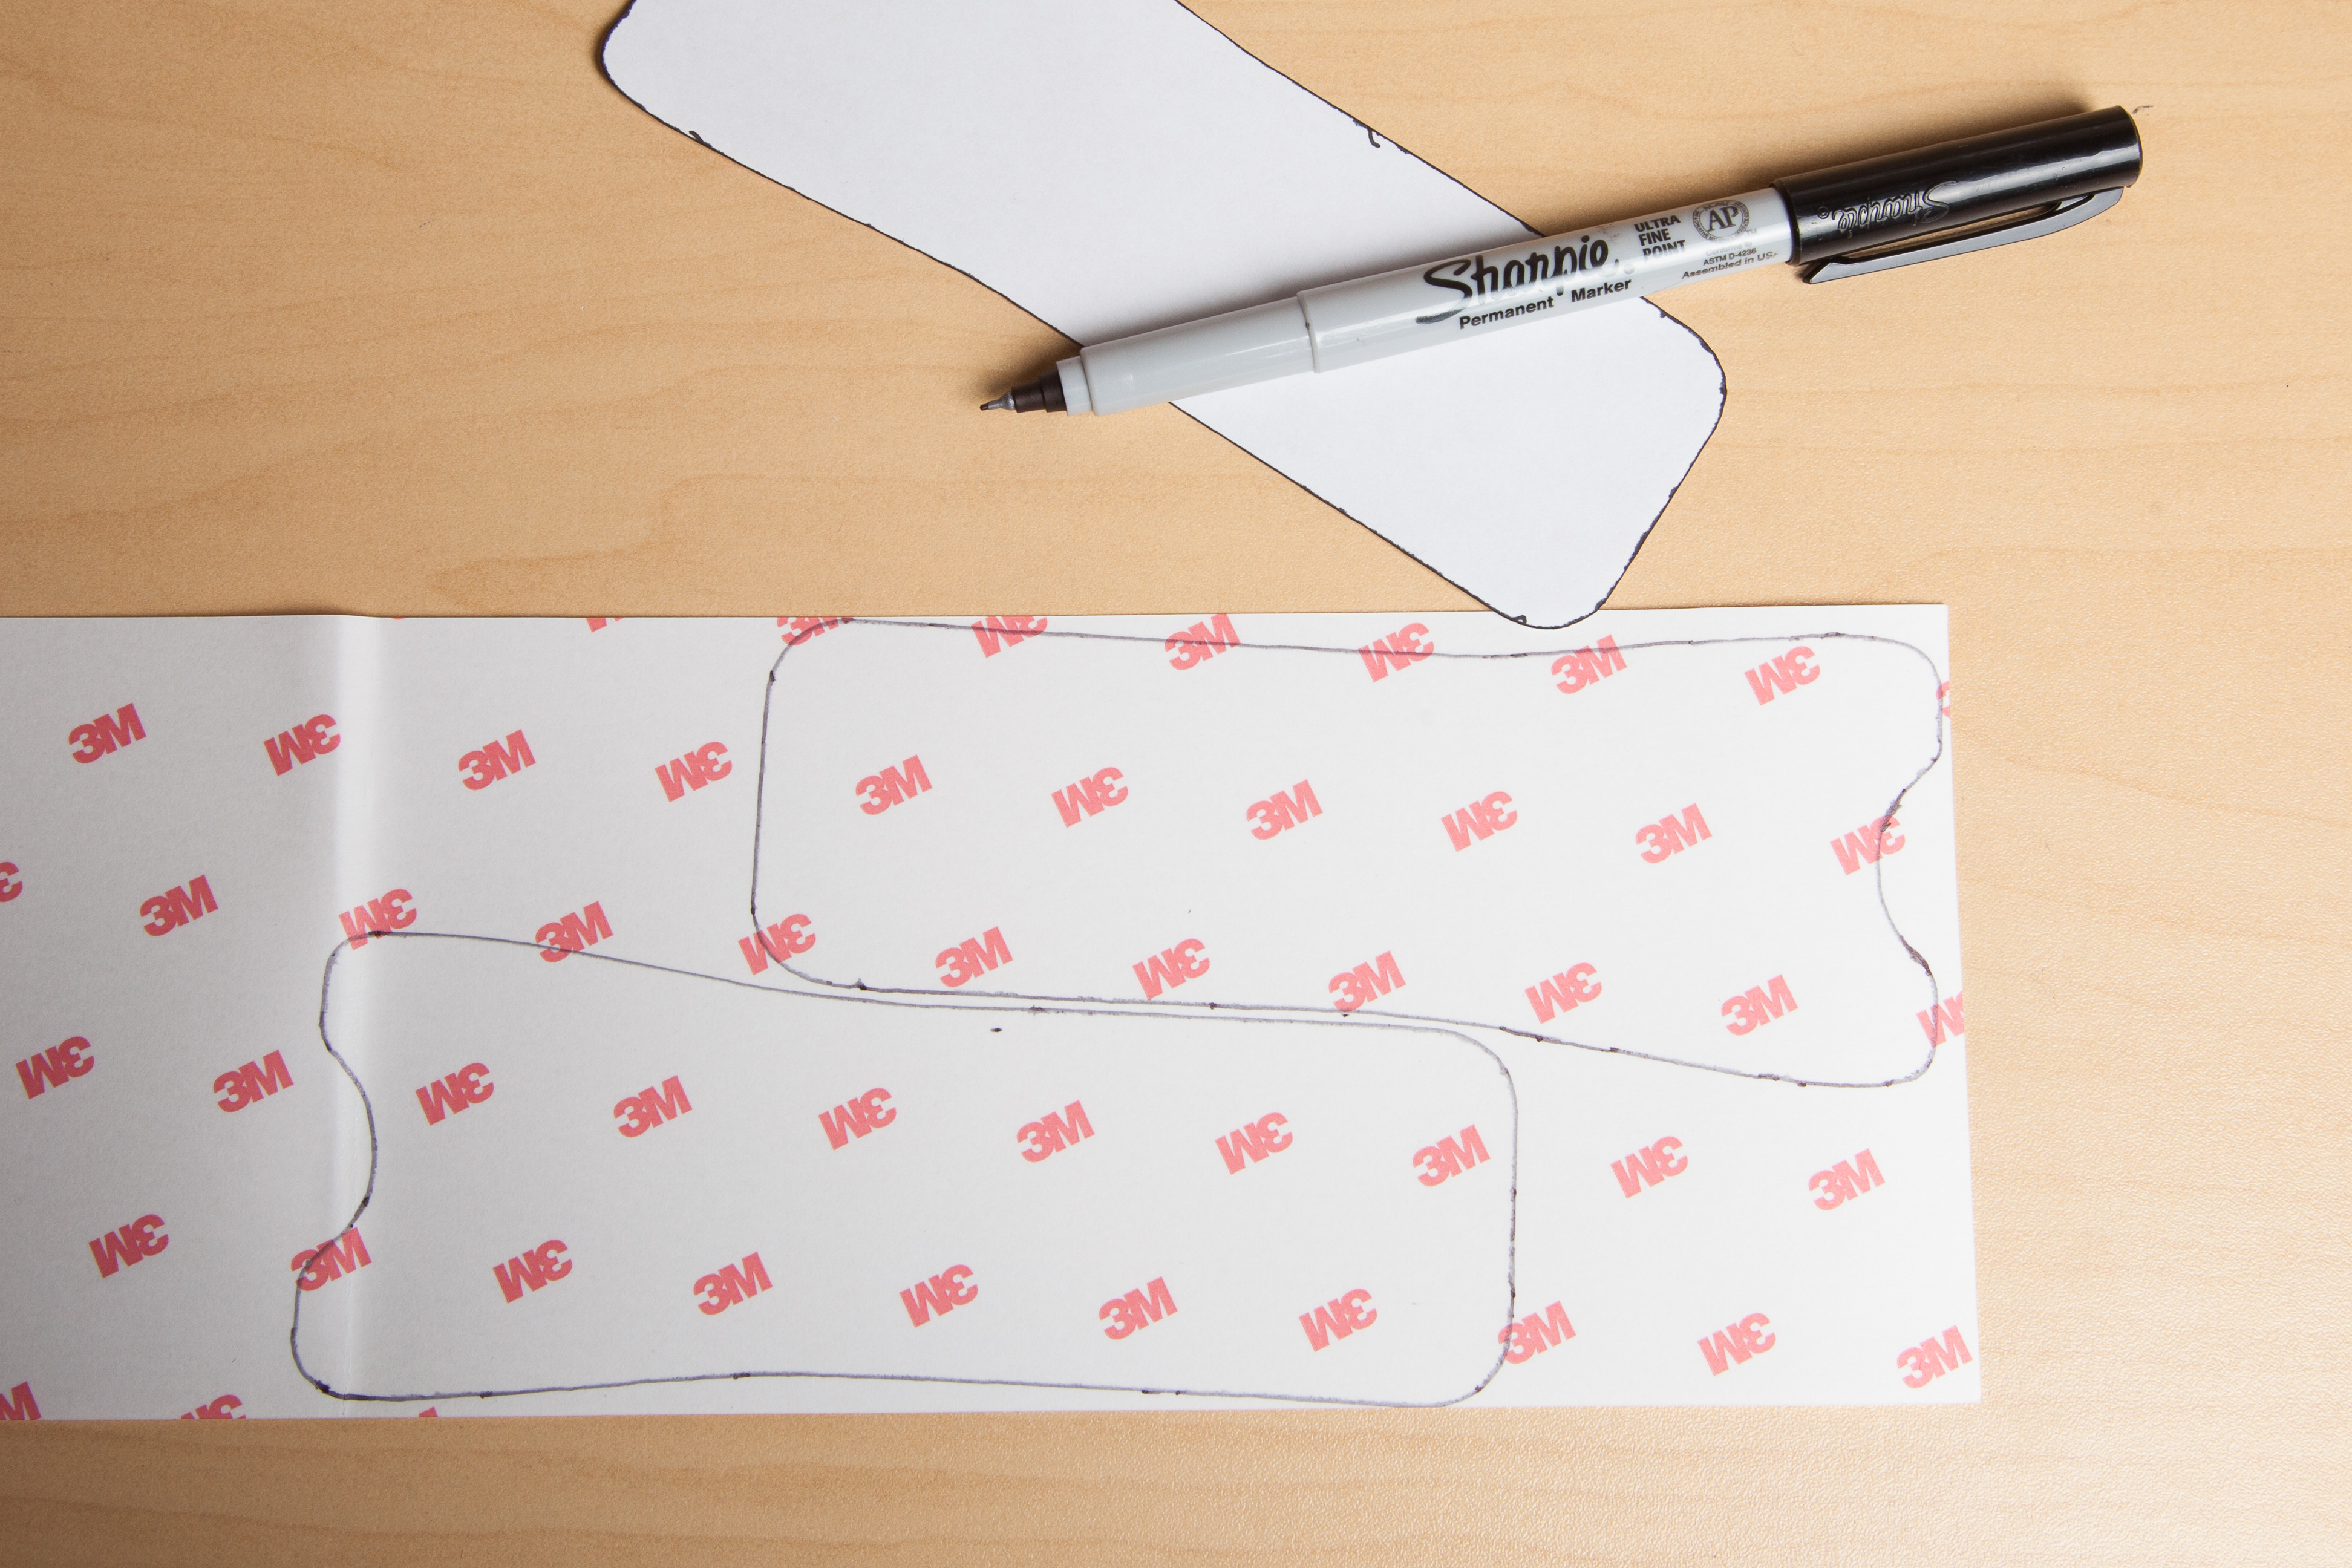
Using good quality scissors cut these traces out and you should have the skins ready for application.
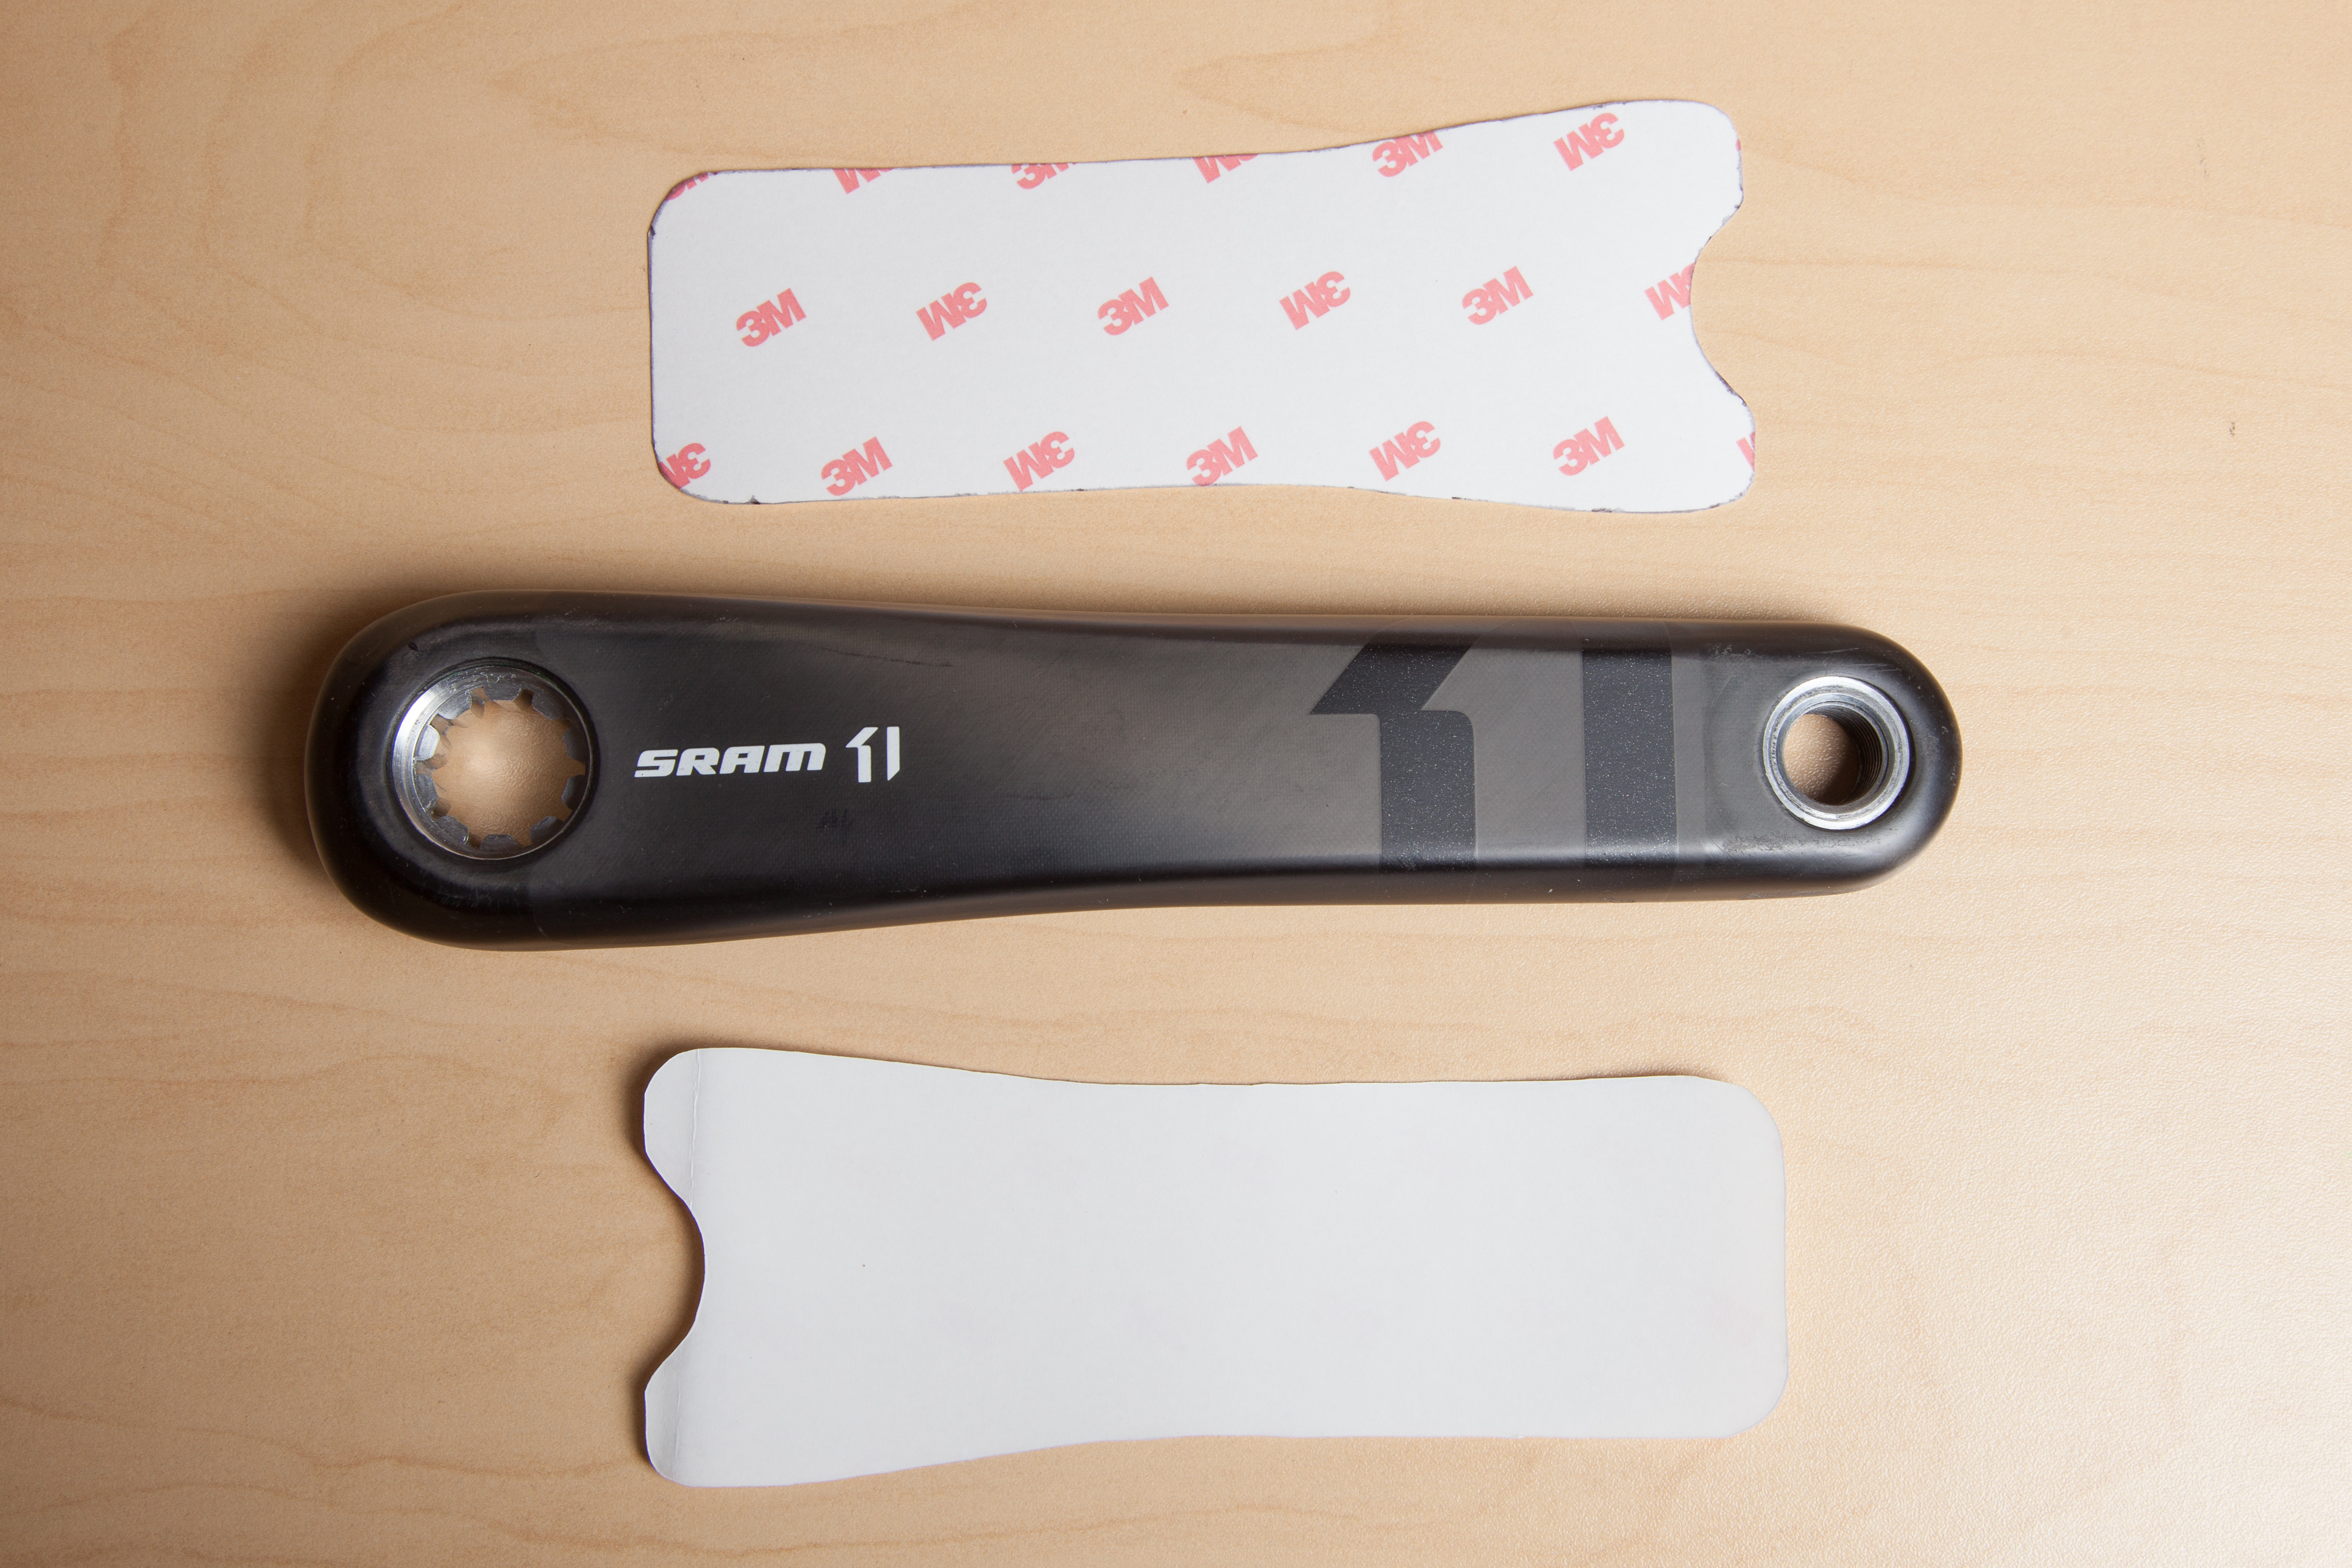
Step 2: Clean your cranks
Thoroughly clean the face of your crank arms with Isopropyl Alcohol to get rid of any grease or contaminants.
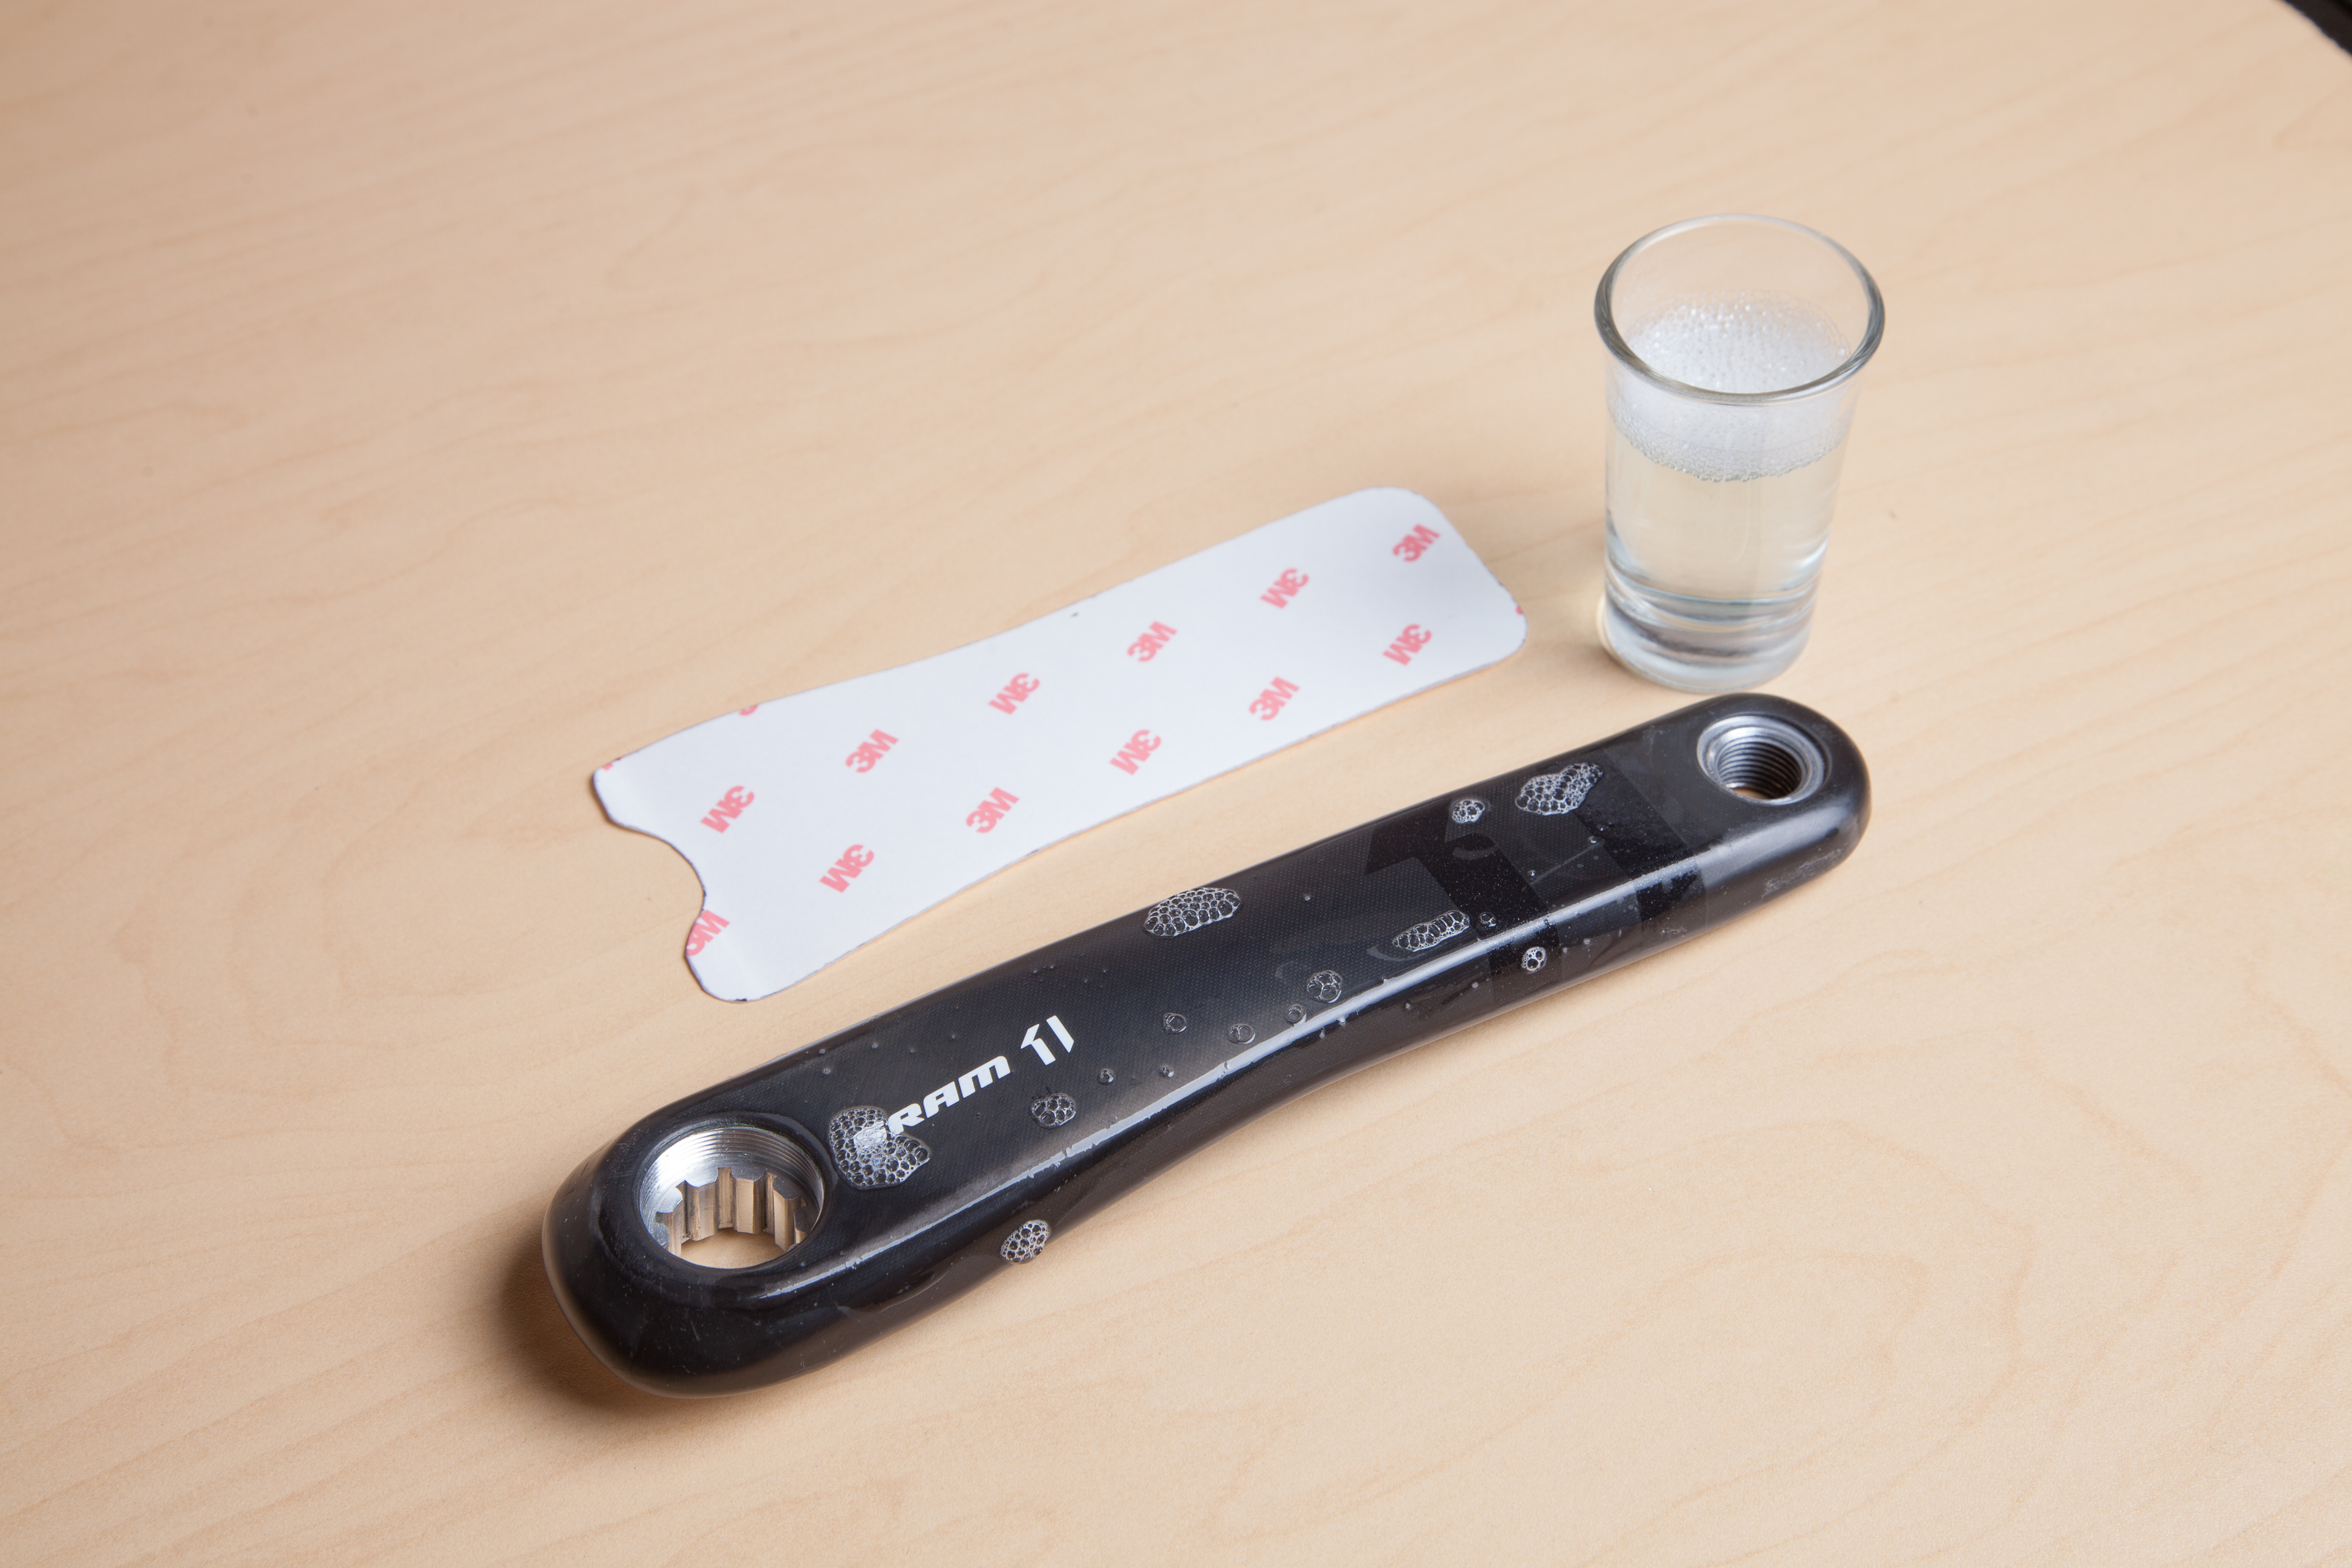
Step 3: Prepare soapy water
The purpose of soapy water is to help the skin float around for easy alignment and avoid bubbles. Mix a bit of dish washing soap with warm water.
Step 4: Apply the skin
Generously spray your crank arms with the soapy water.
Remove the skin backing and align it with the spindle.
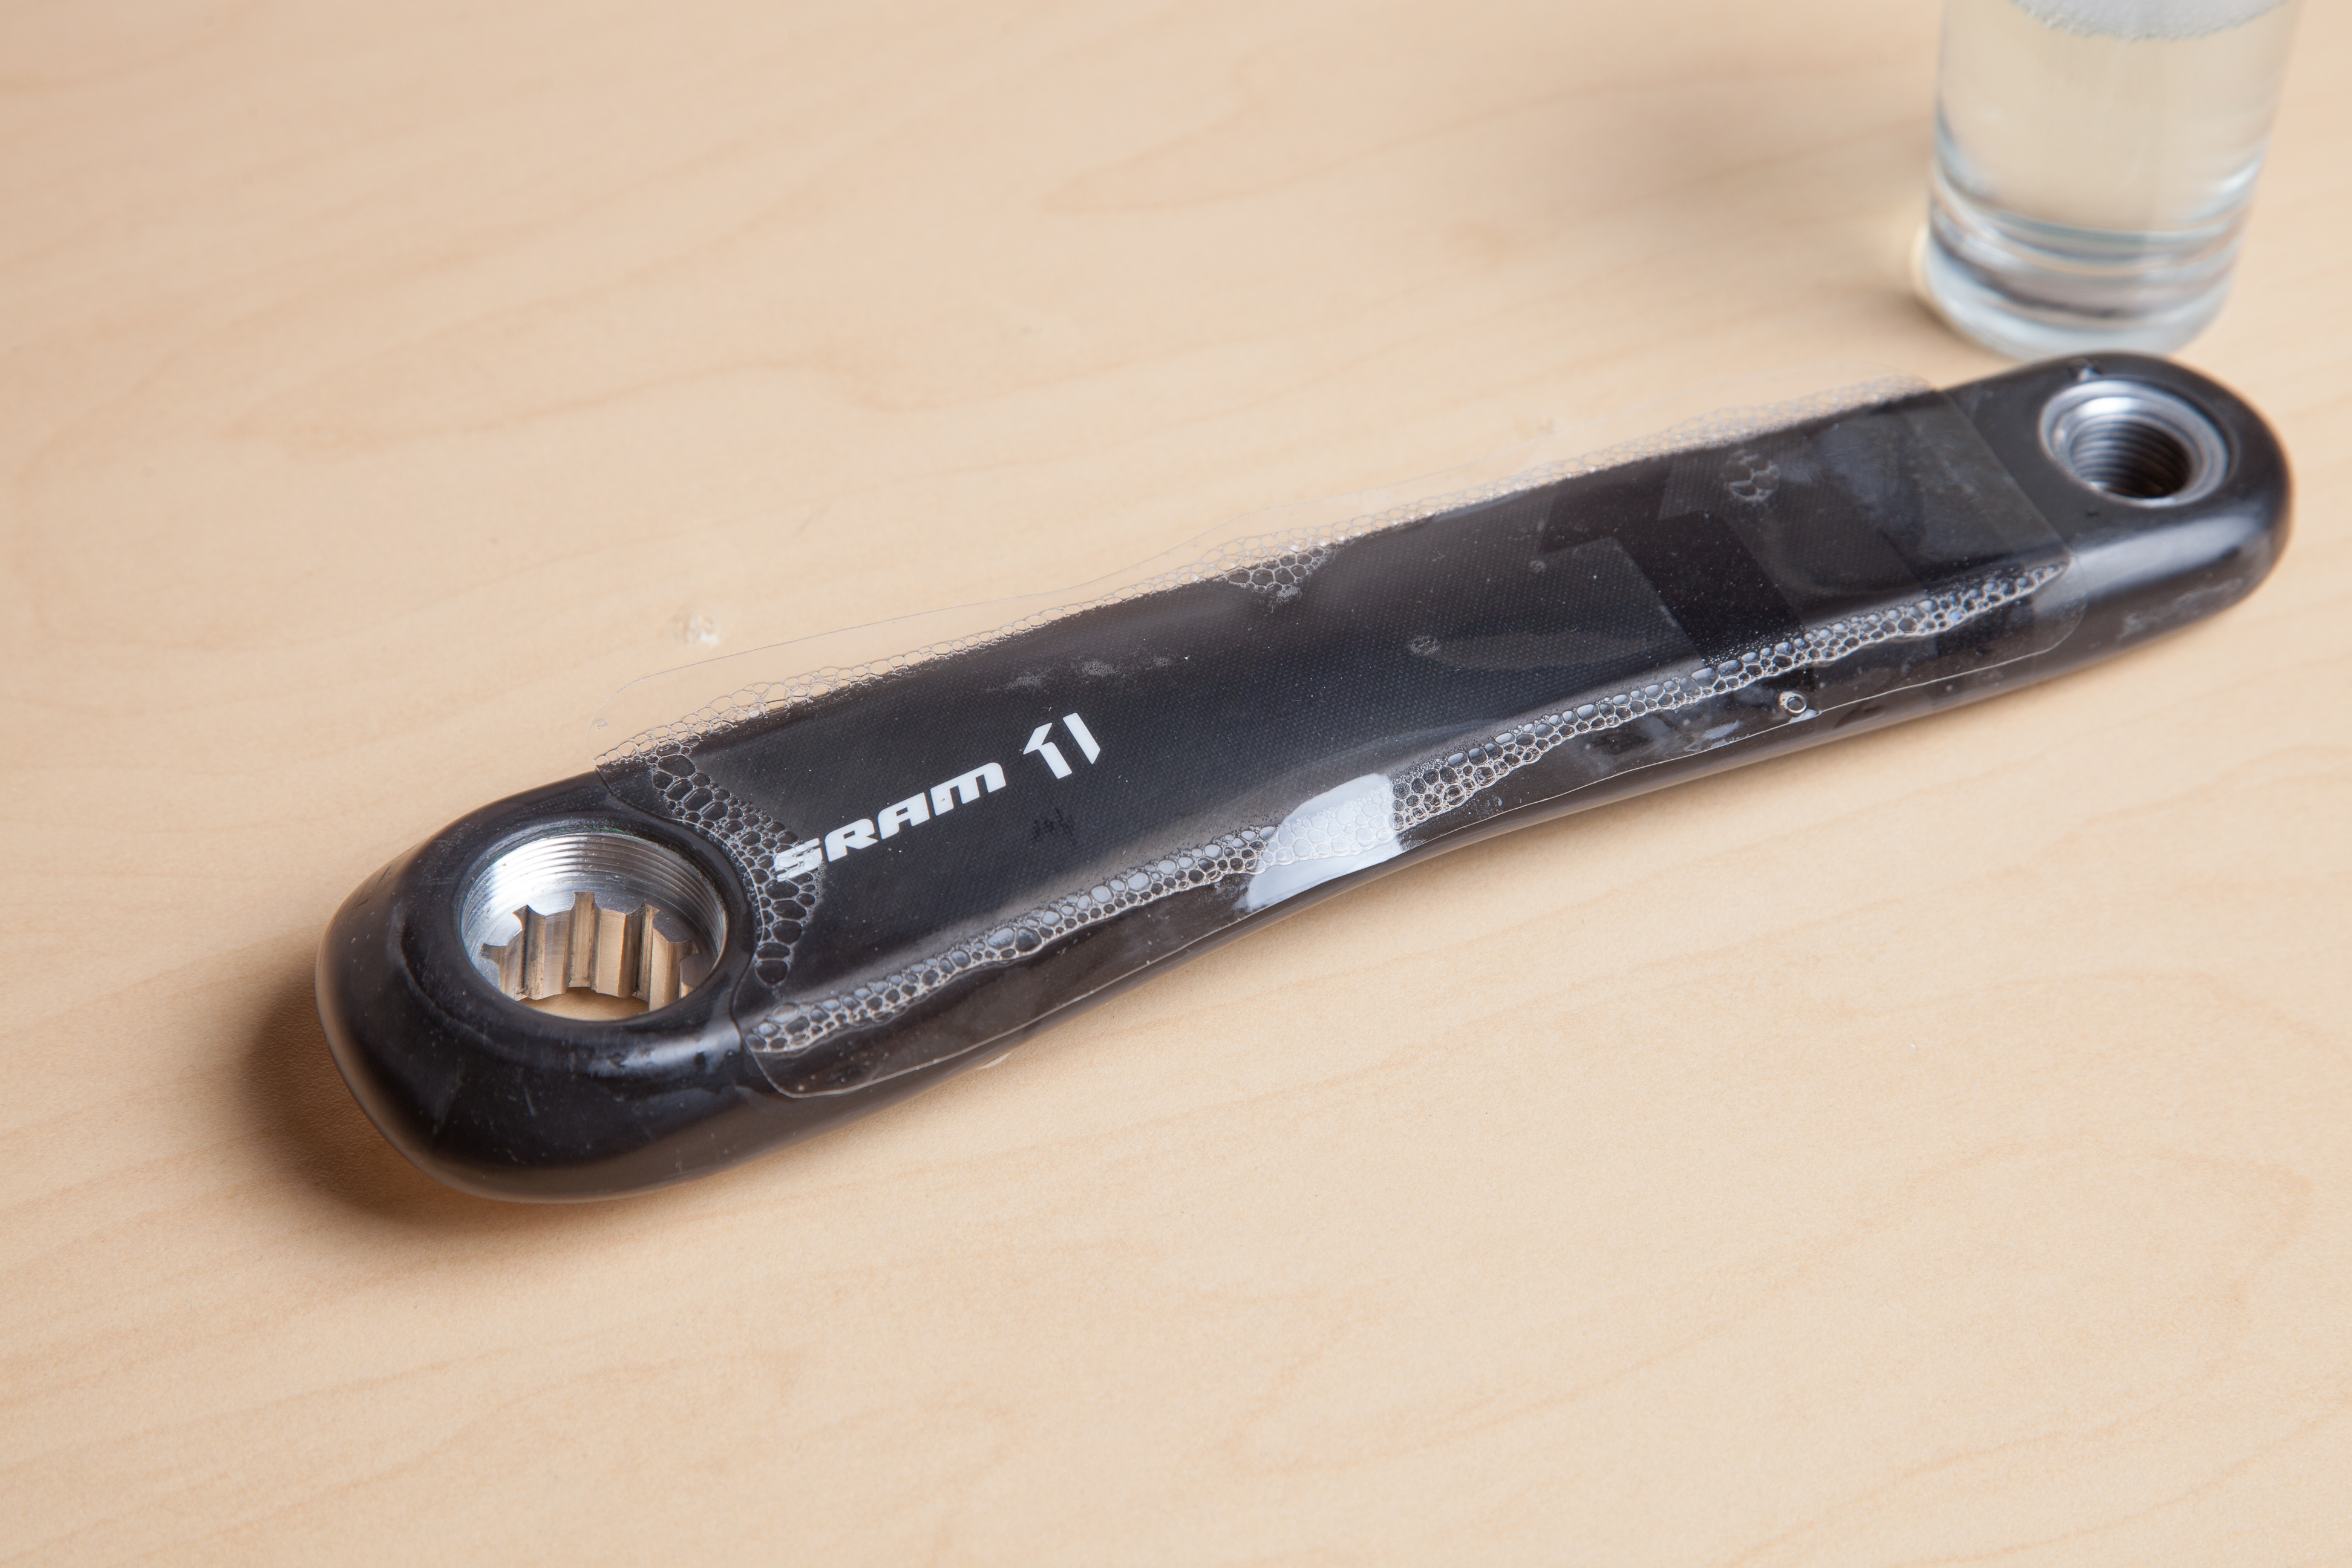
Once everything looks good, go ahead and squeegee the soapy water using a credit card or any hard plastic object.

Wipe the crank with a shop cloth to dry it off. Slide on your crank boots.
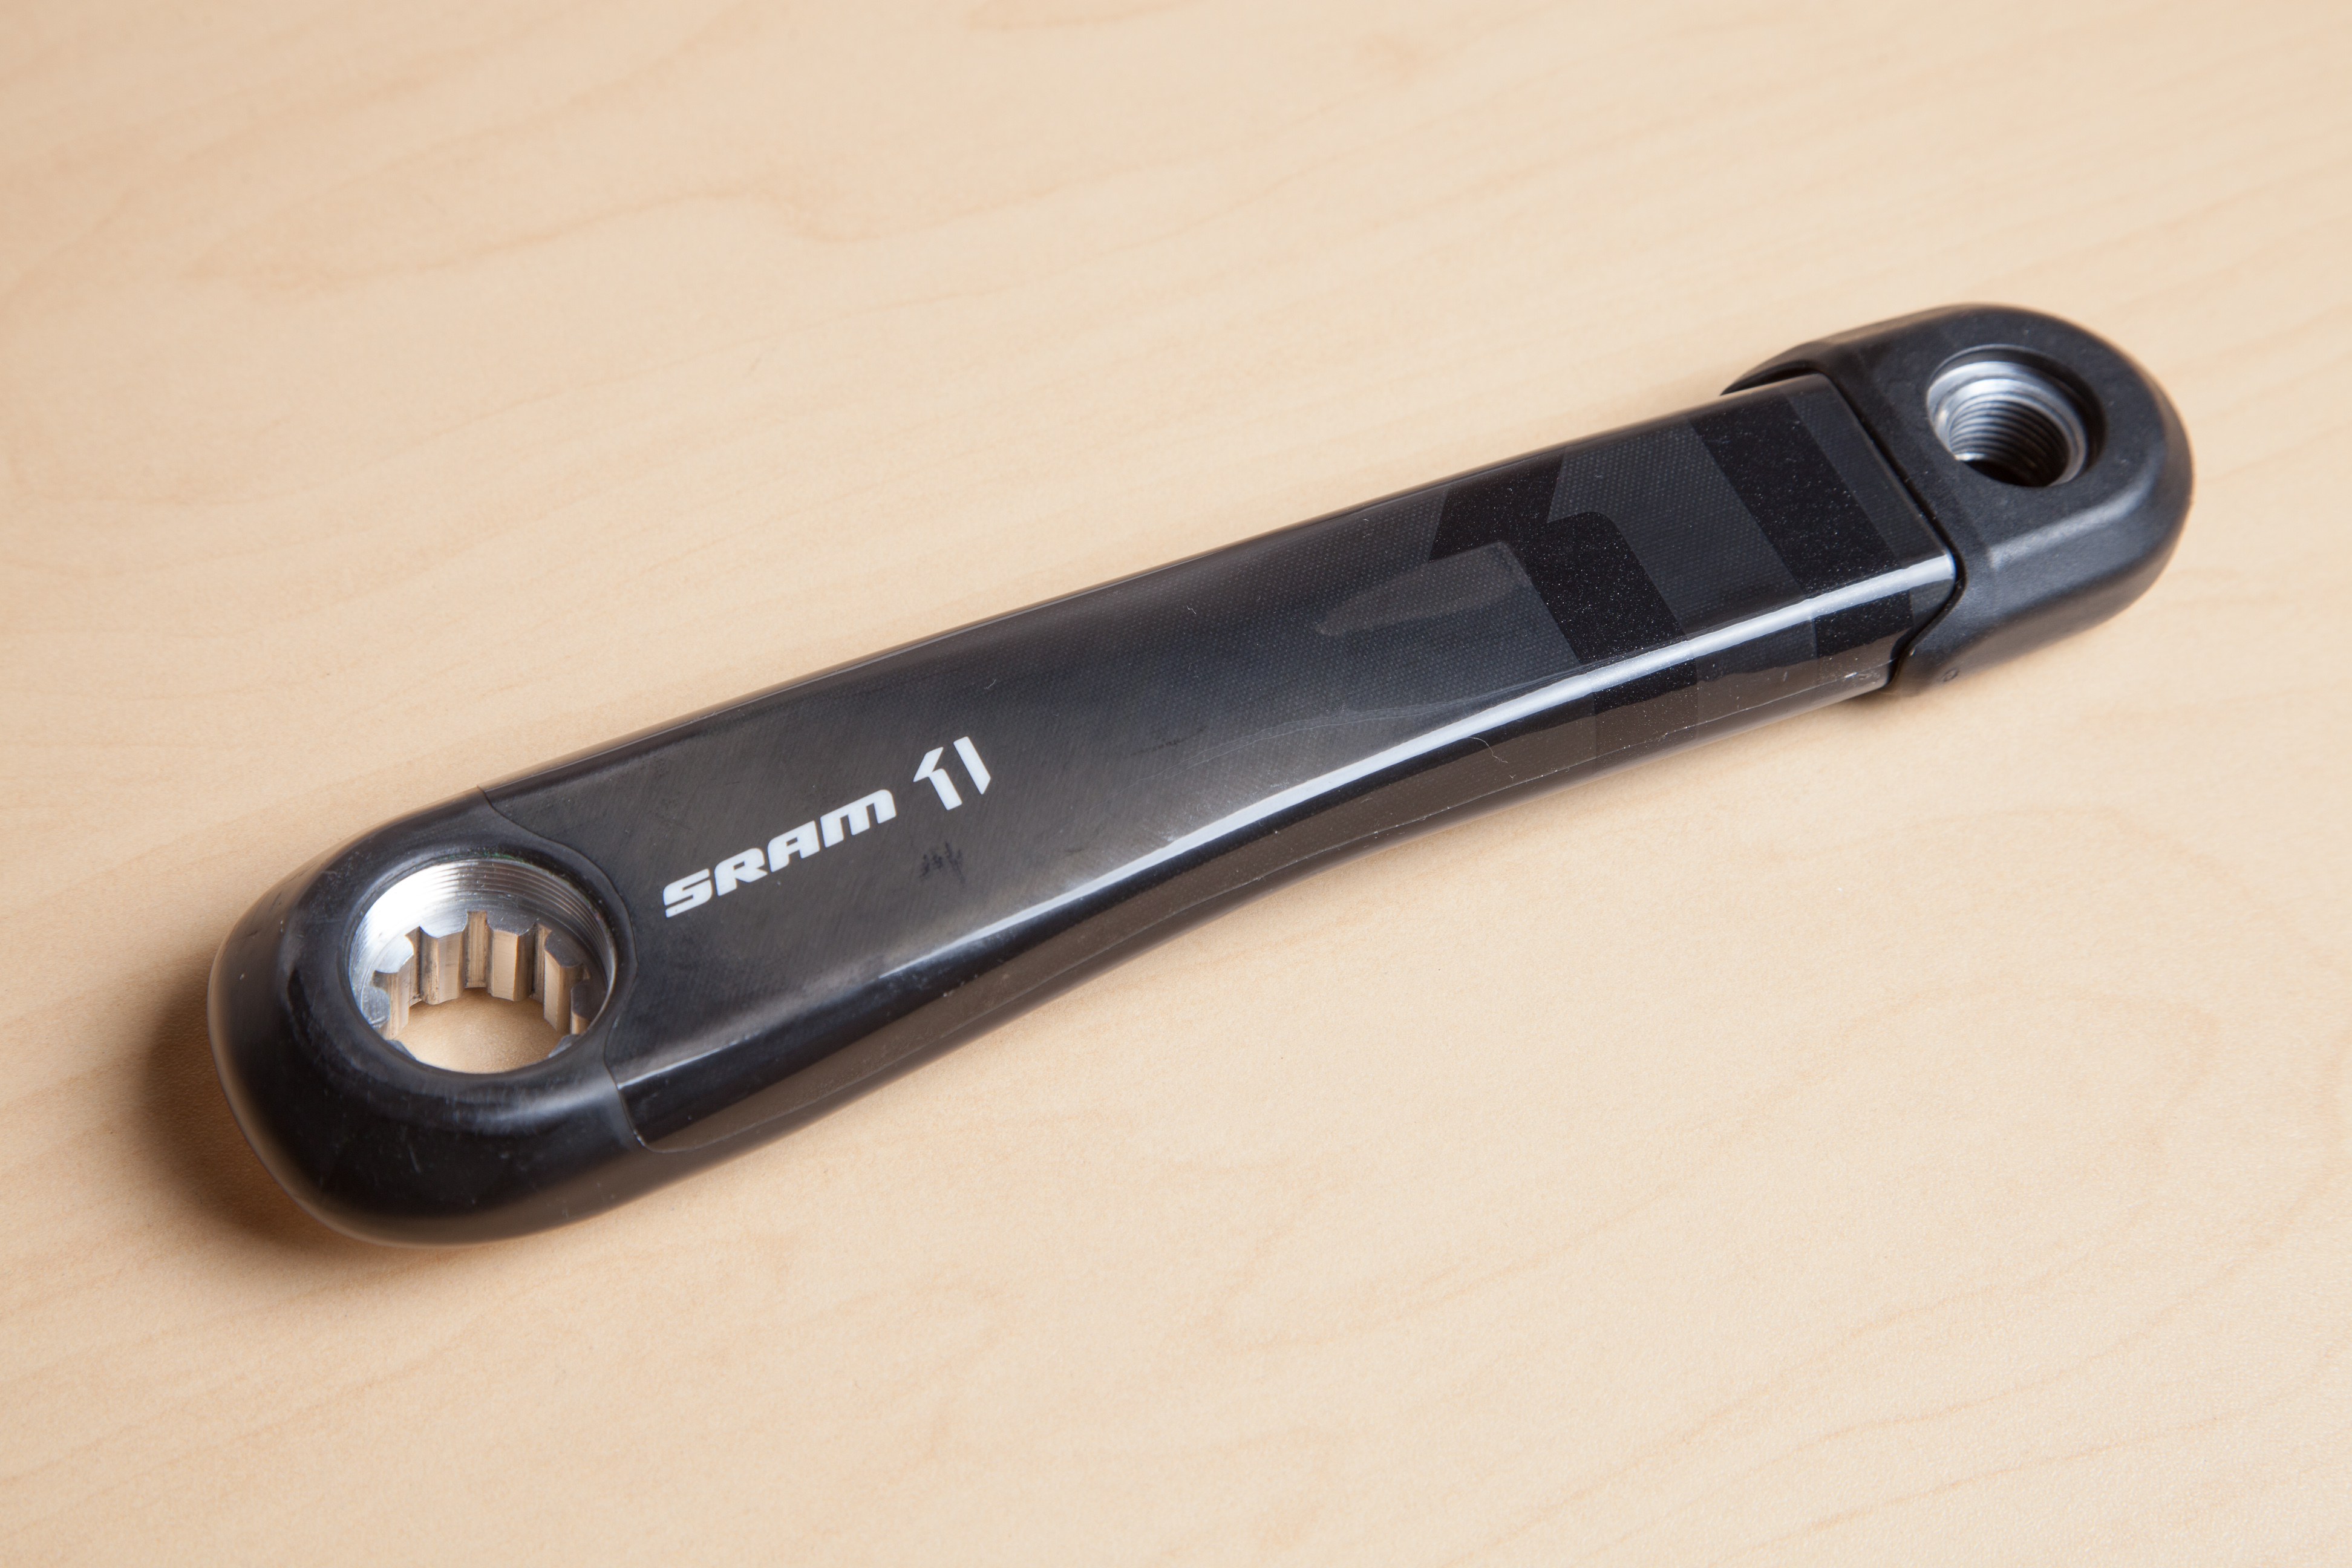
All done! Marvel the brand new shiny cranks!