DIY: Bike Light Battery Hack
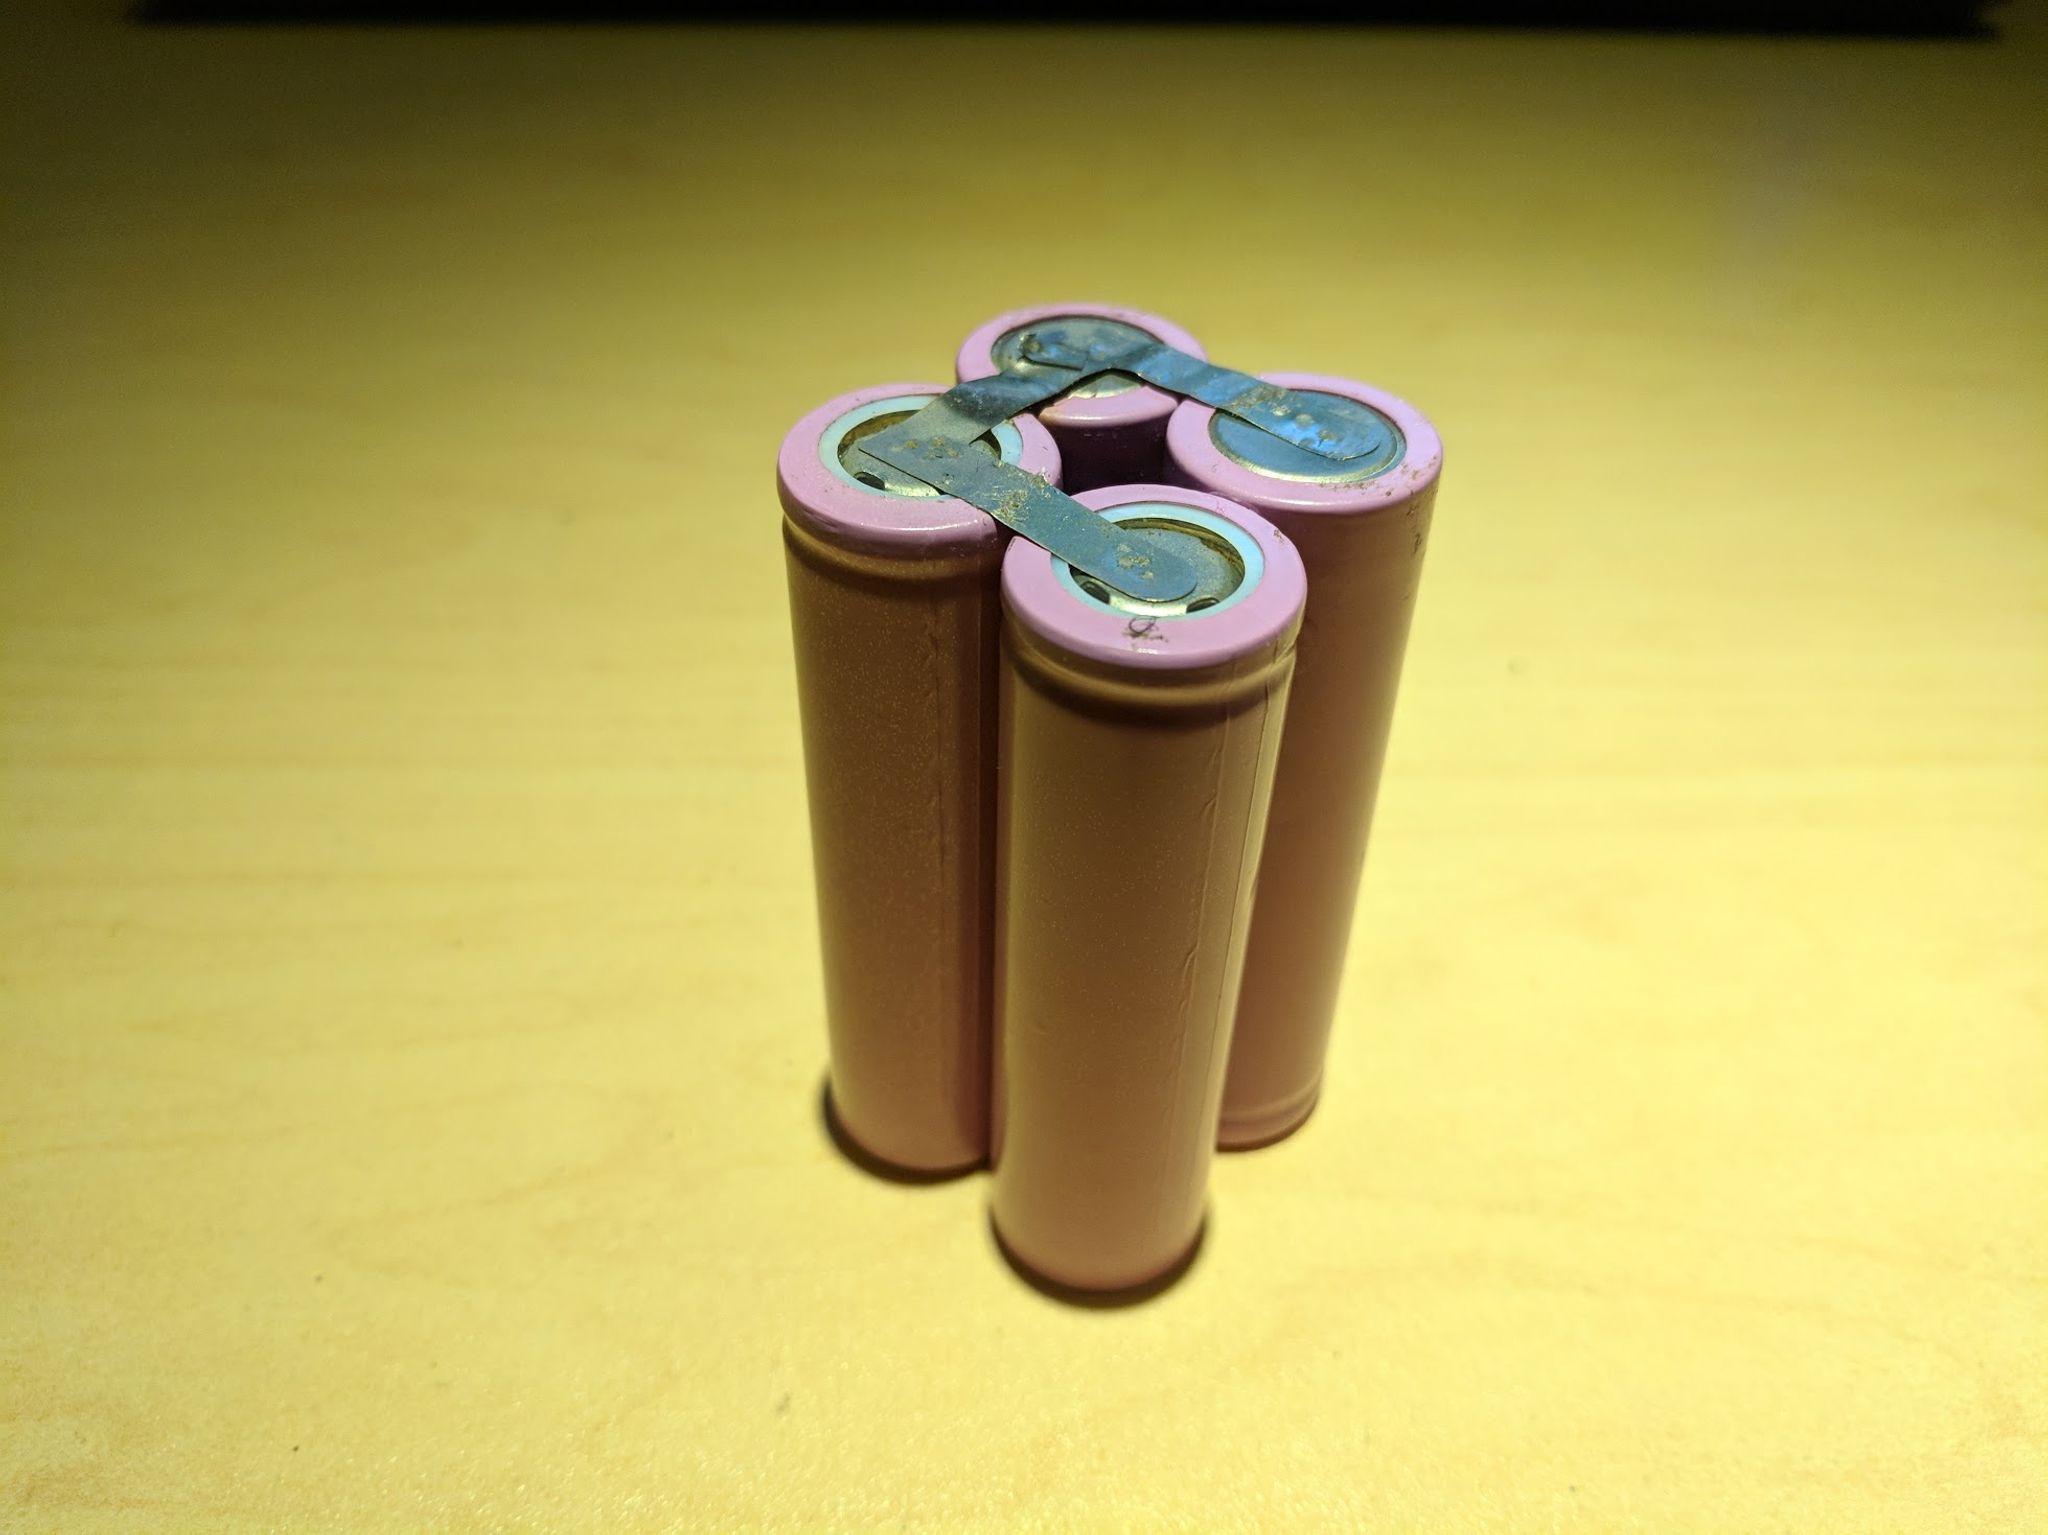
With shoulder seasons comes night riding. To enjoy it safely it is crucial to have a good long lasting light setup. There are two main components to these; a light head and a battery pack. There are premium brands which charge a decent amount of money for one and then there are the budget brands from eBay/Amazon. Many online resources indicate that some cheap light heads can match and sometimes outperform the premium brands. The biggest difference is the battery pack. These have finite charge cycles and are the main wearing part of a light setup. They wear out long before the light head. In case of a battery, the bottom line is you get what you pay for. The cheaper setups often use reclaimed laptop battery cells that might perform well at first but quickly deteriorate after multiple charge cycles.
Being comfortable with electronics, I decided to take on a small project and rebuild my Amazon battery pack with the biggest and baddest cells available on the market.
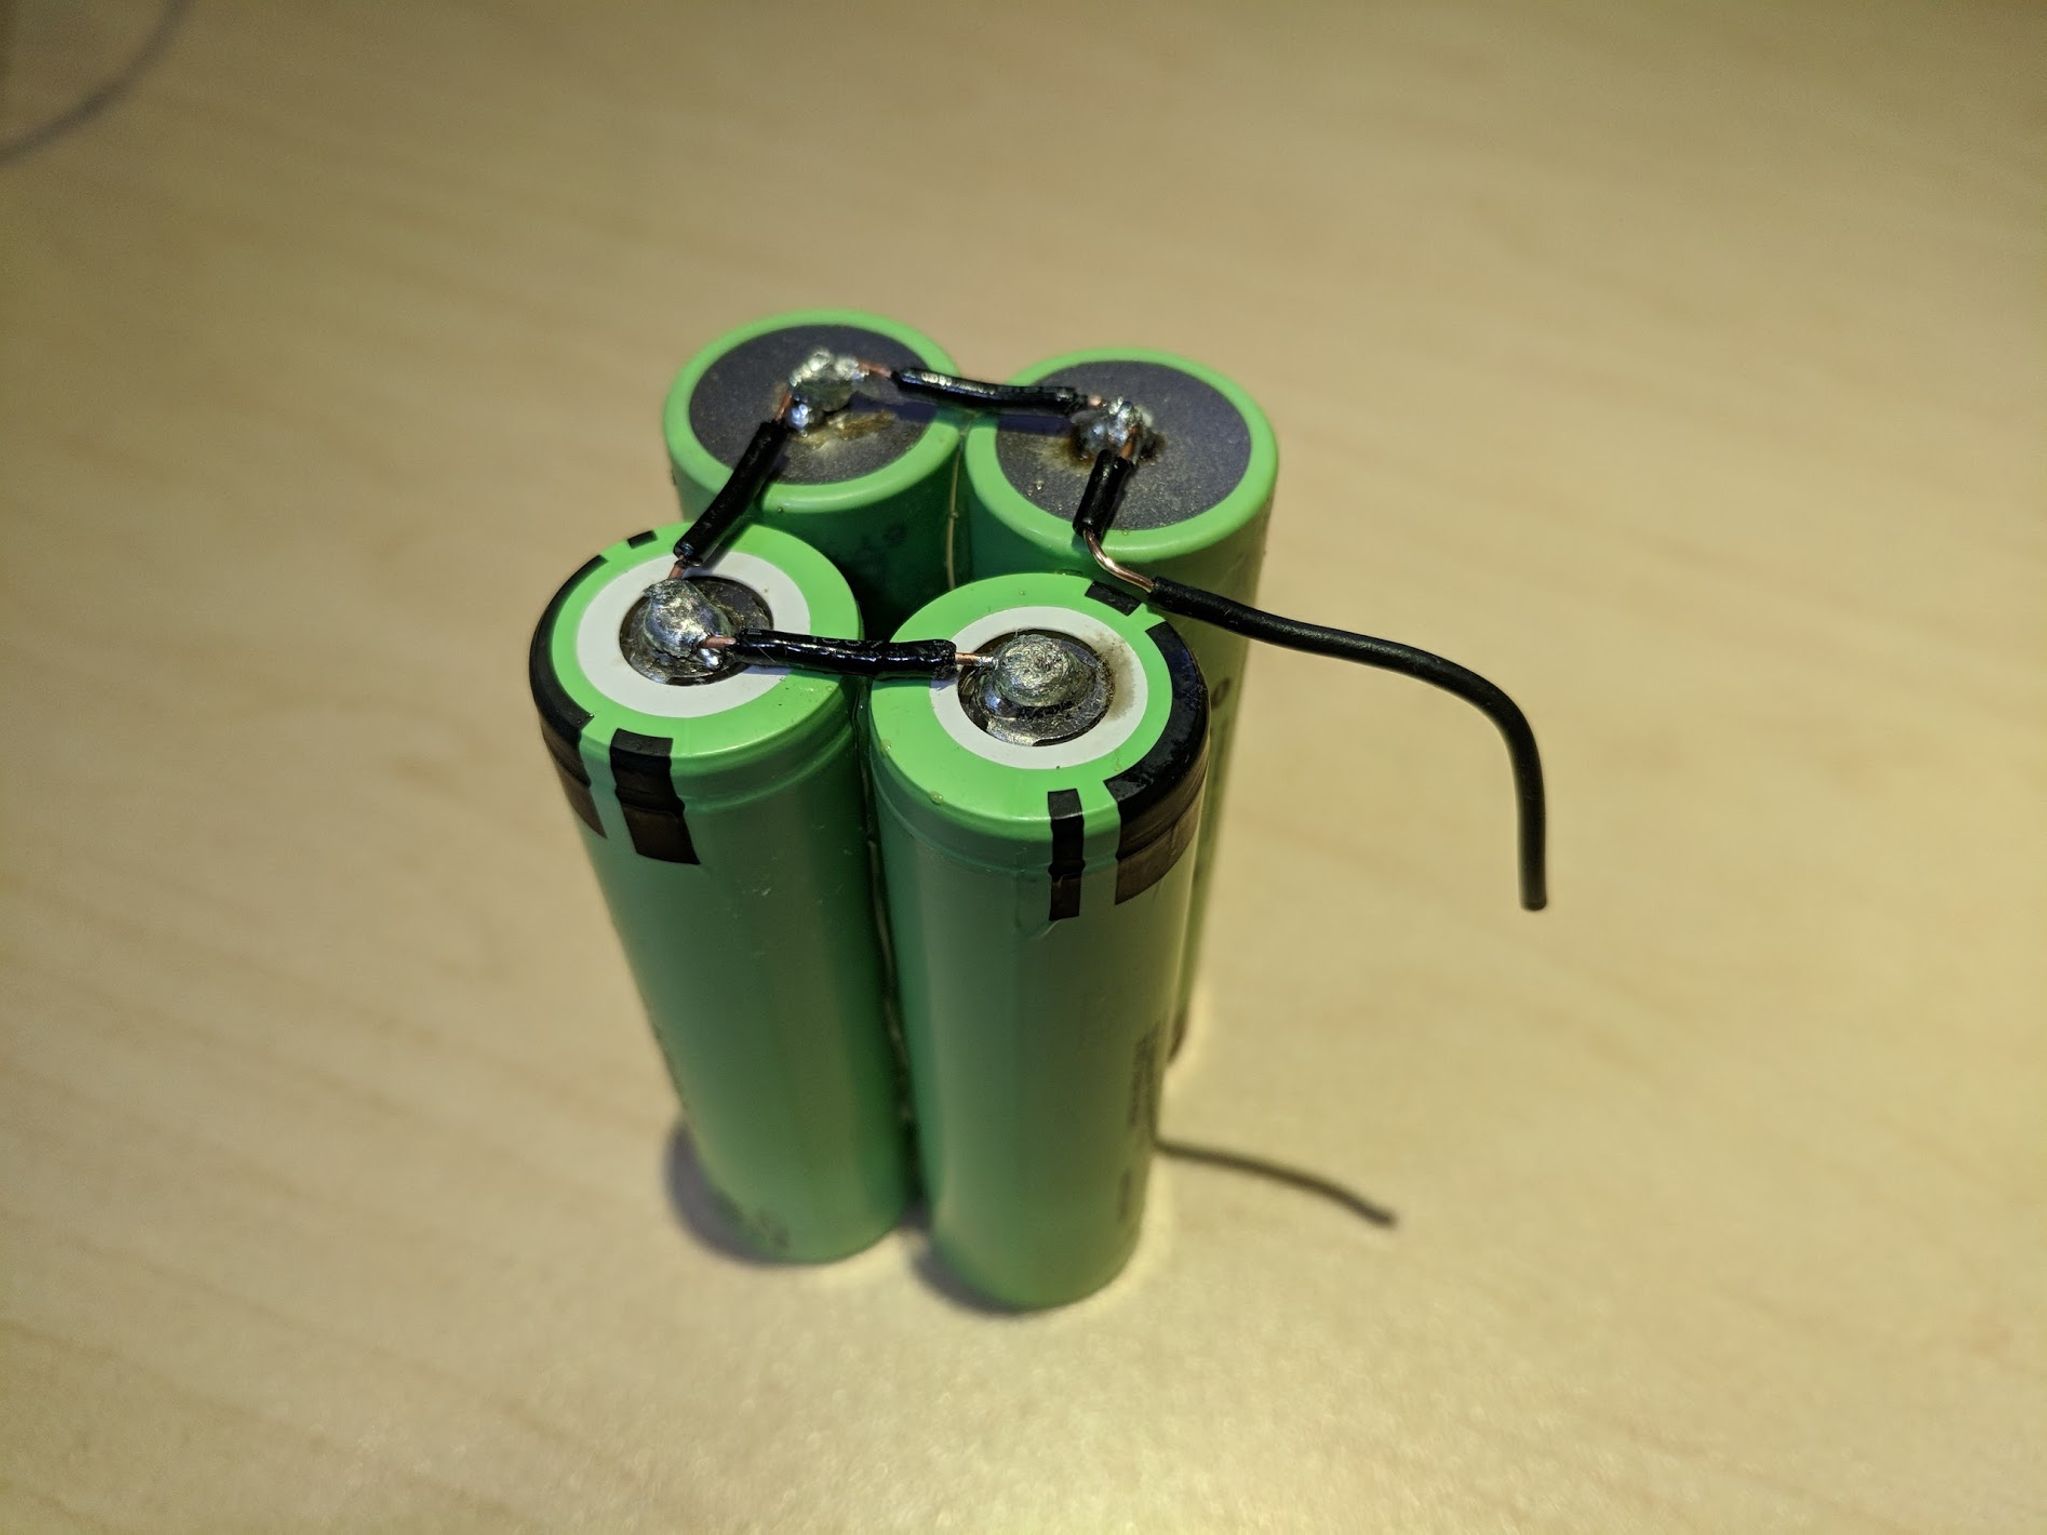
Disclaimer: I highly discourage this if you are not familiar with Lithium based cells and their dangers if not handled properly. A short circuit can cause thermal venting which can a fireball ending in an explosion. Although soldering directly on a 18650 cell is not recommended, it is not harmful to the battery if performed properly.
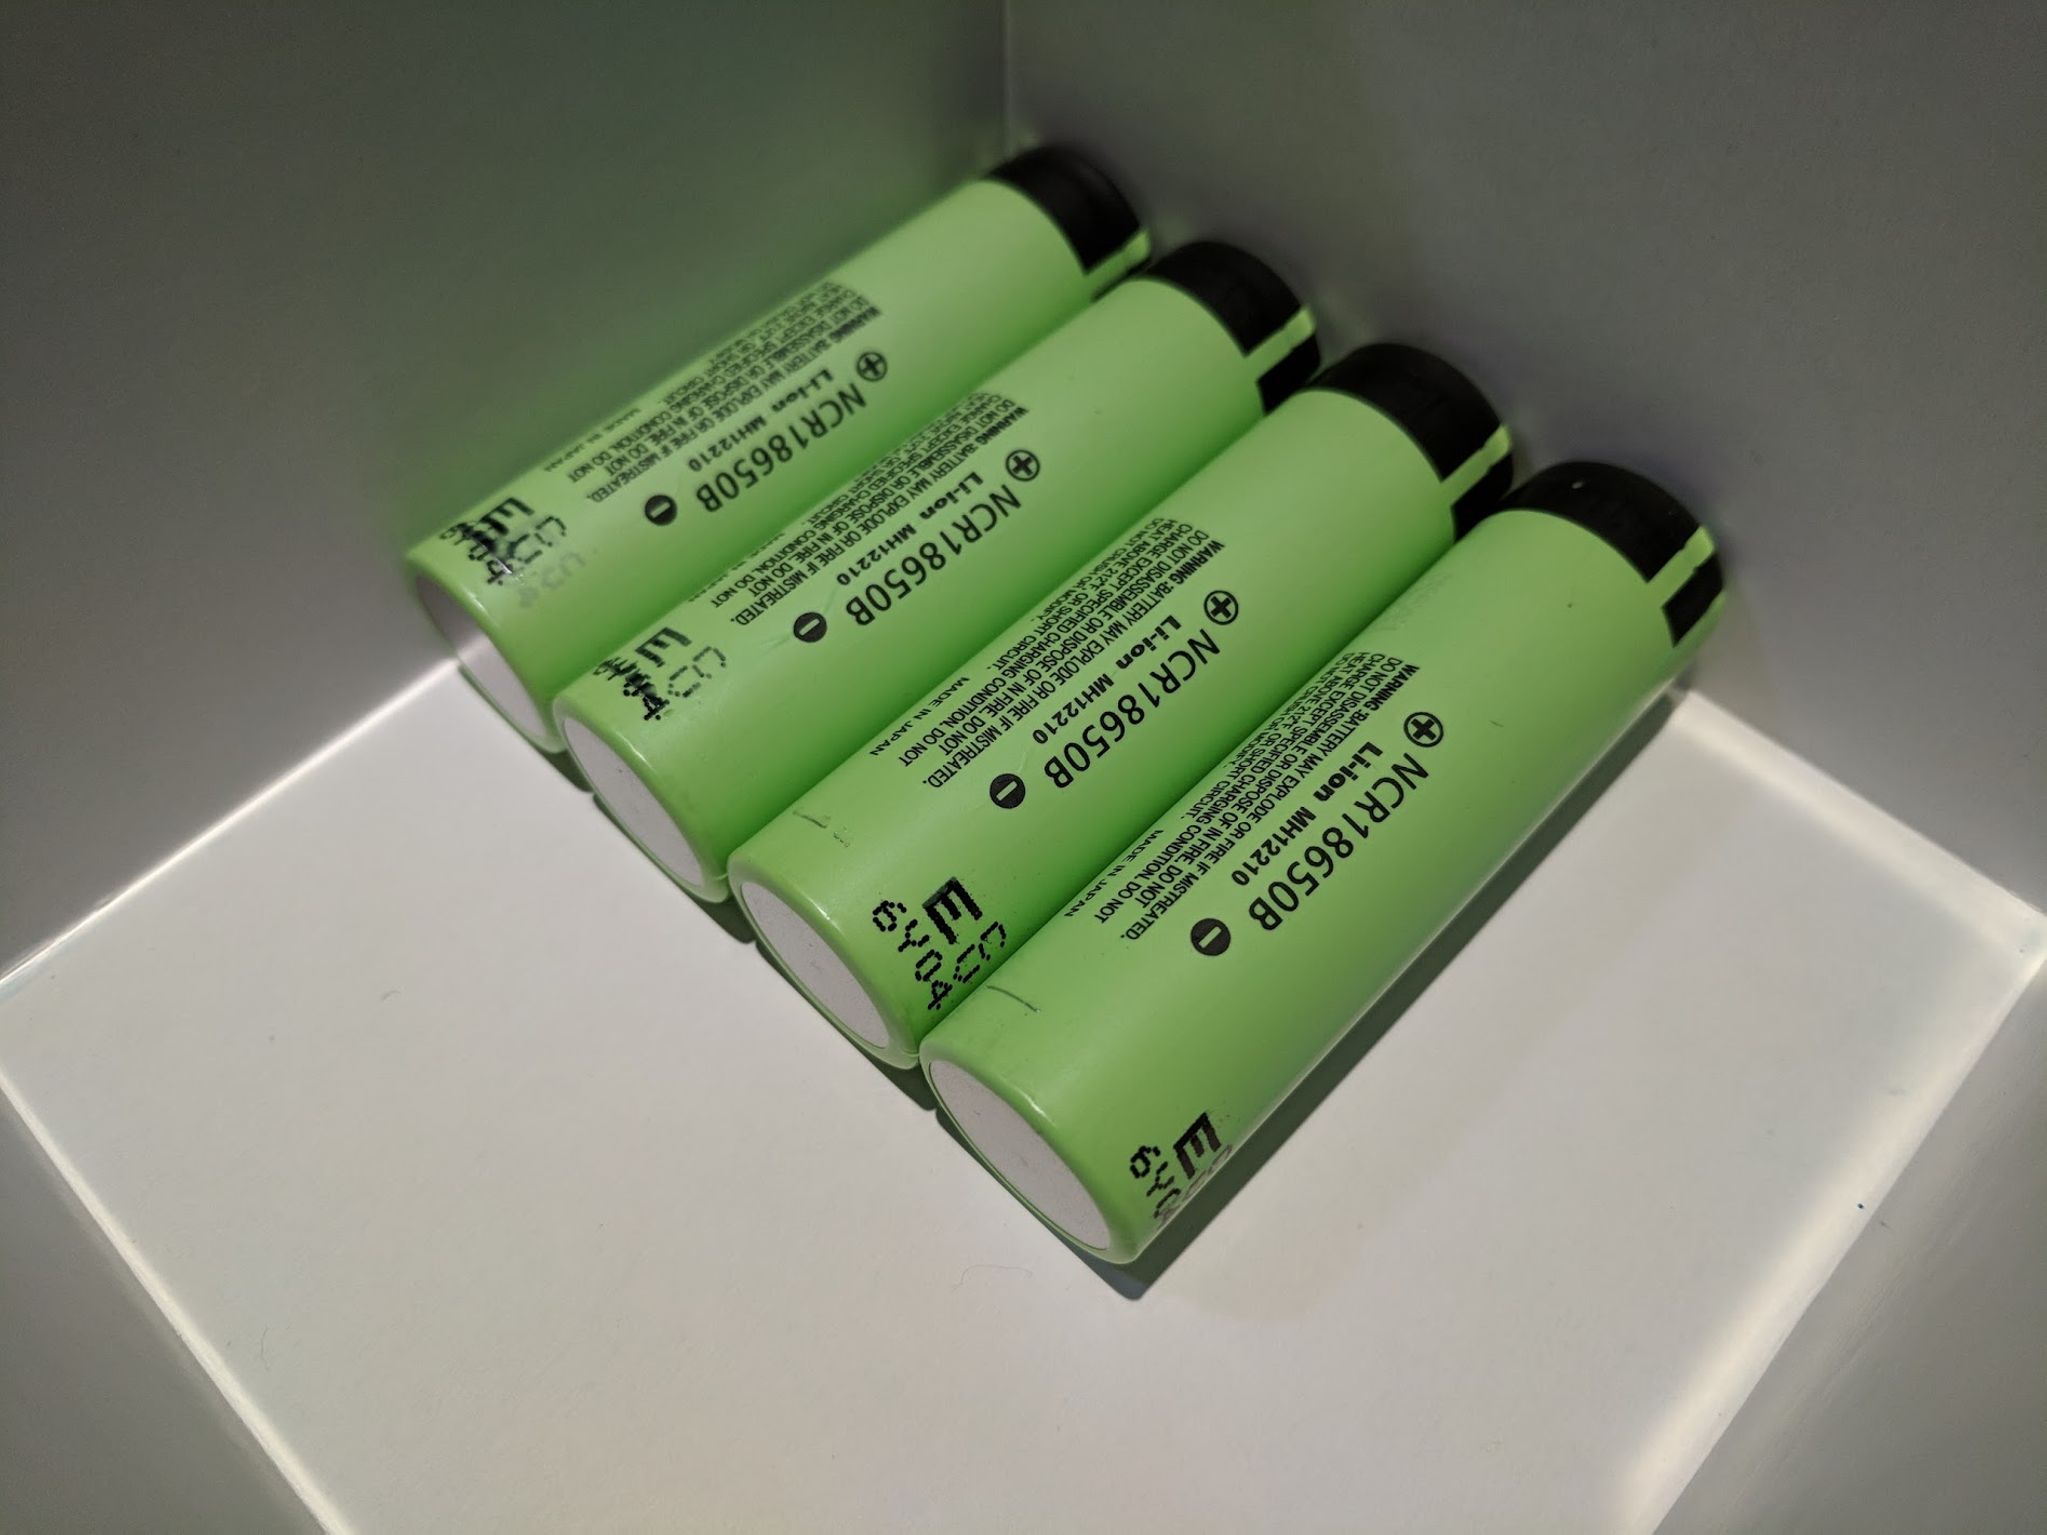
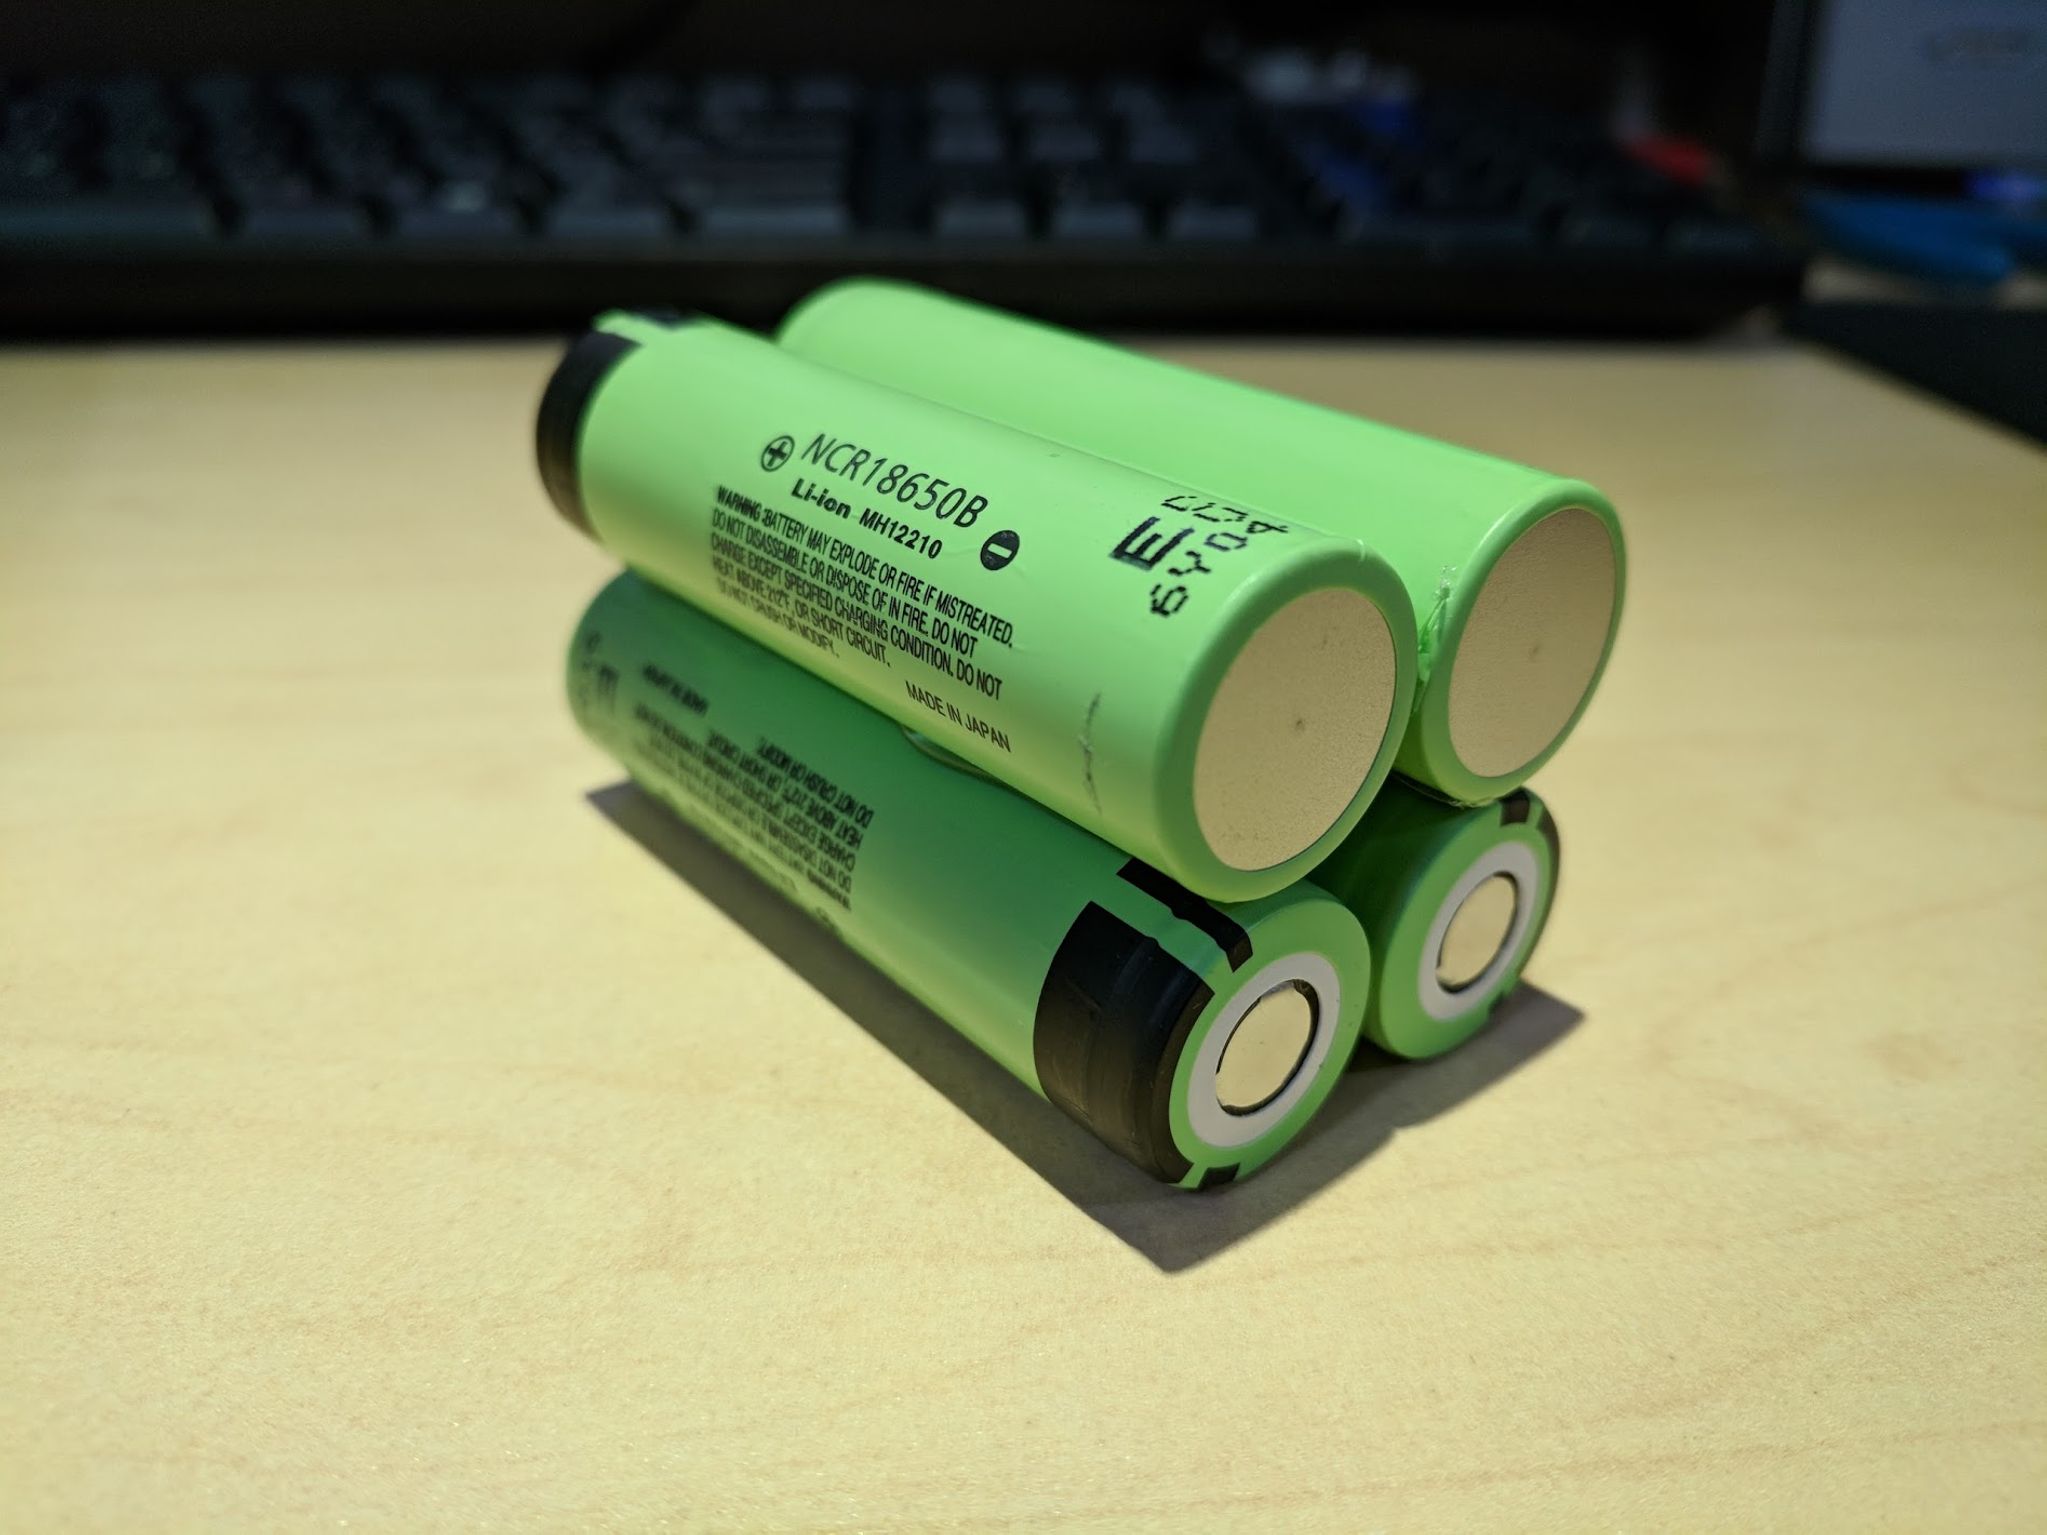
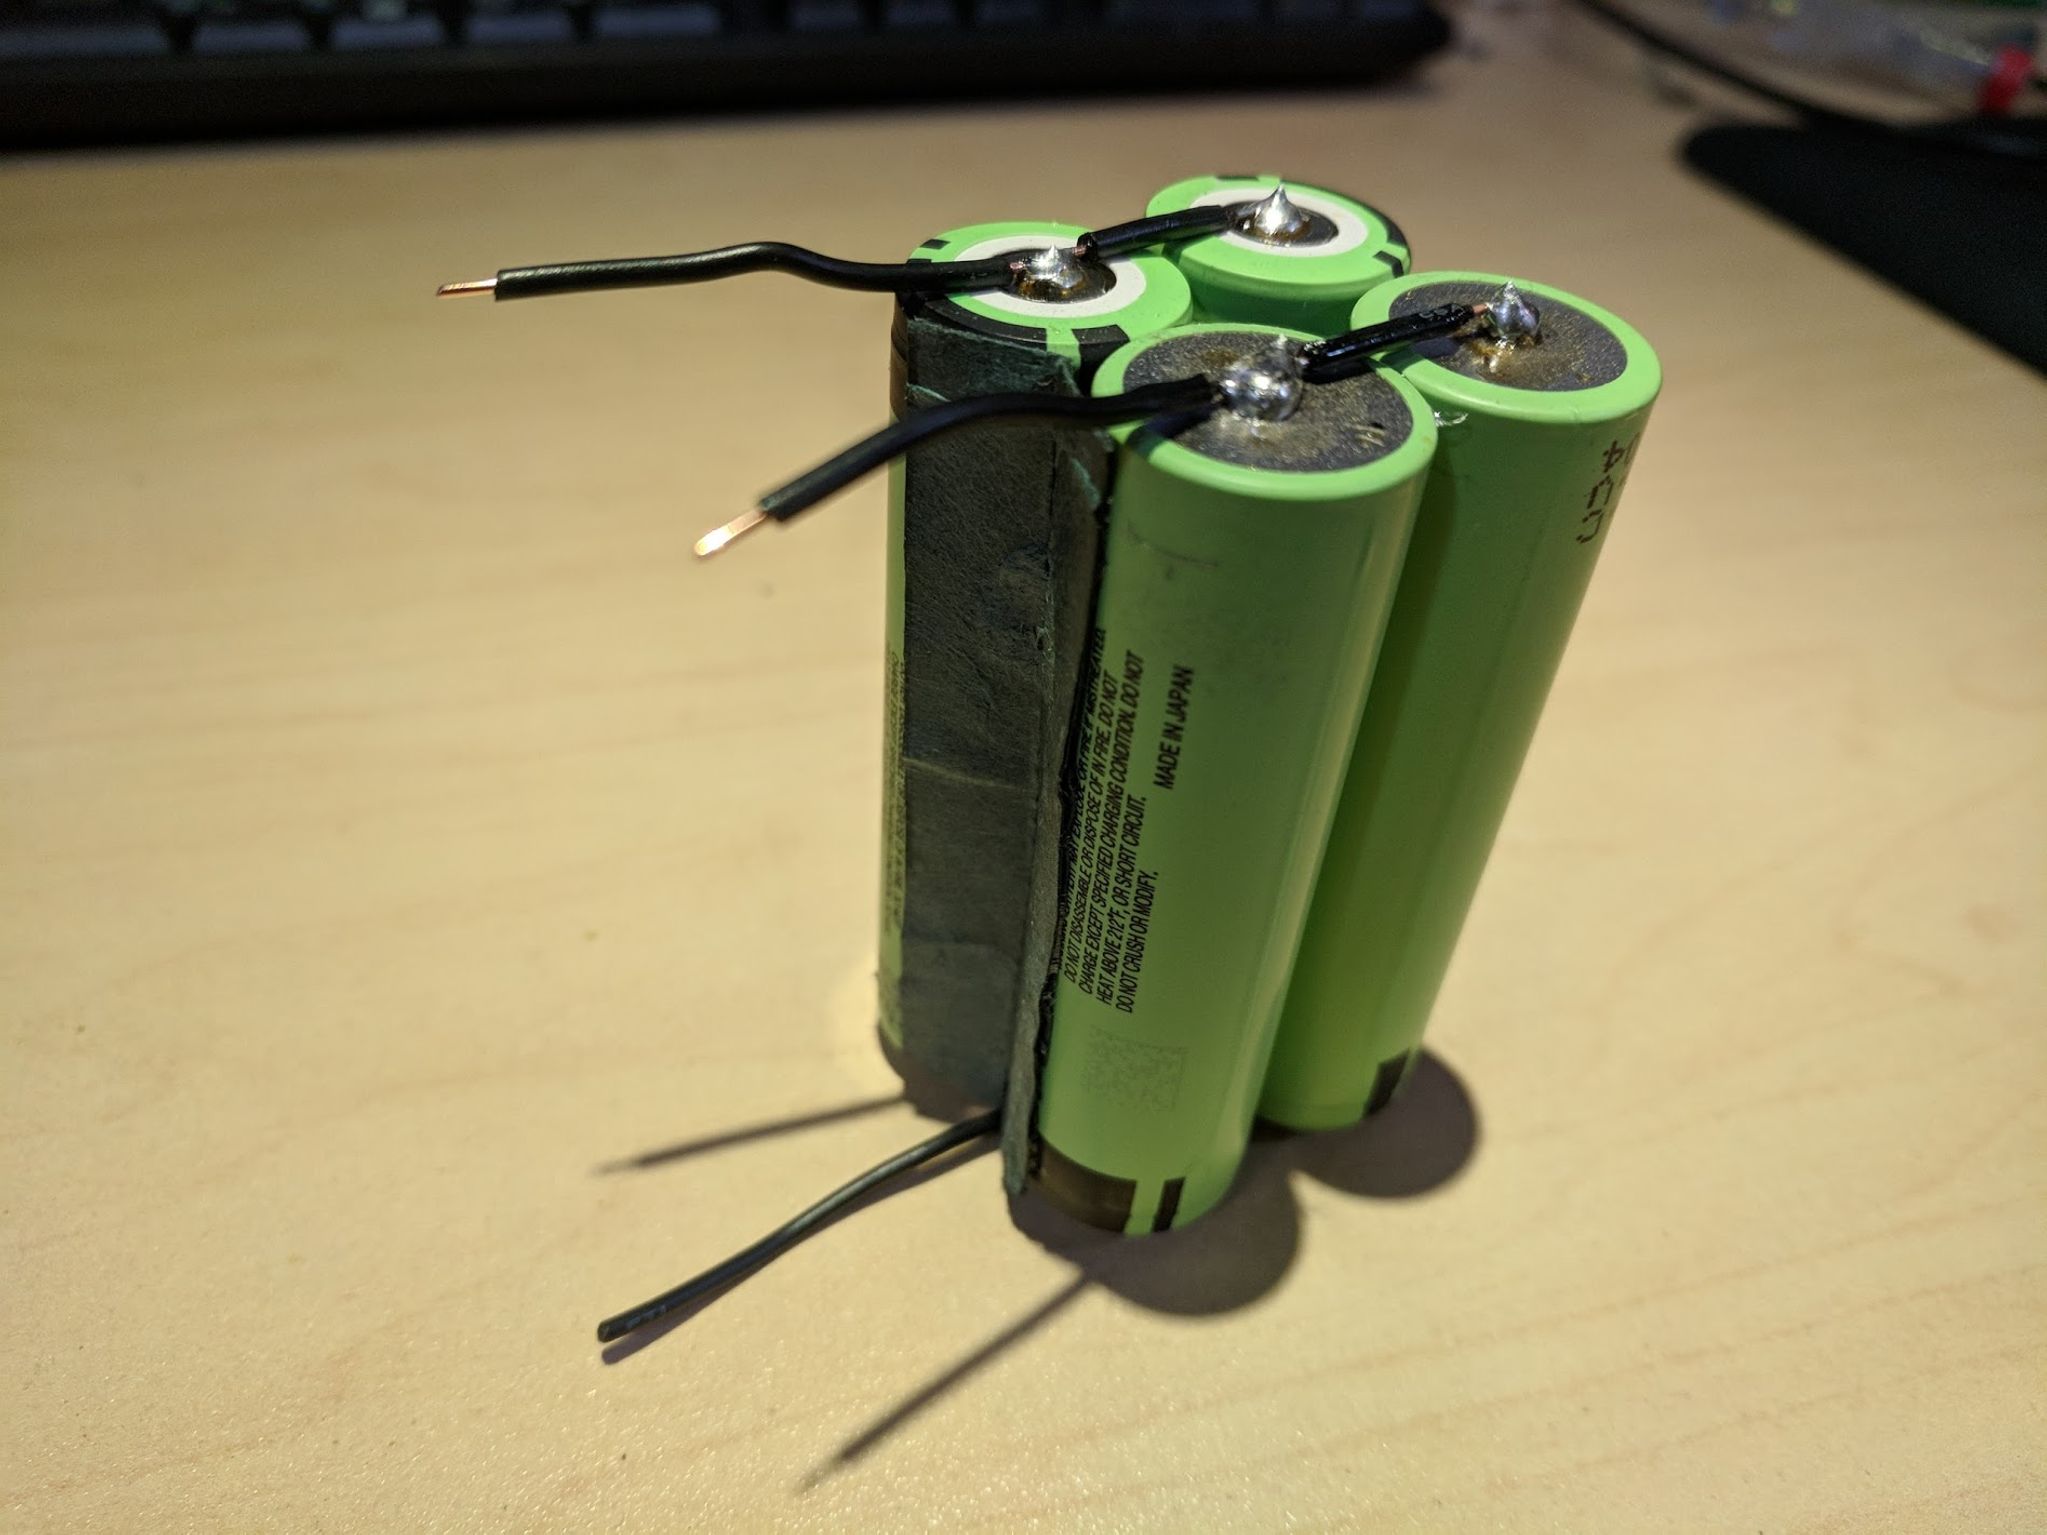
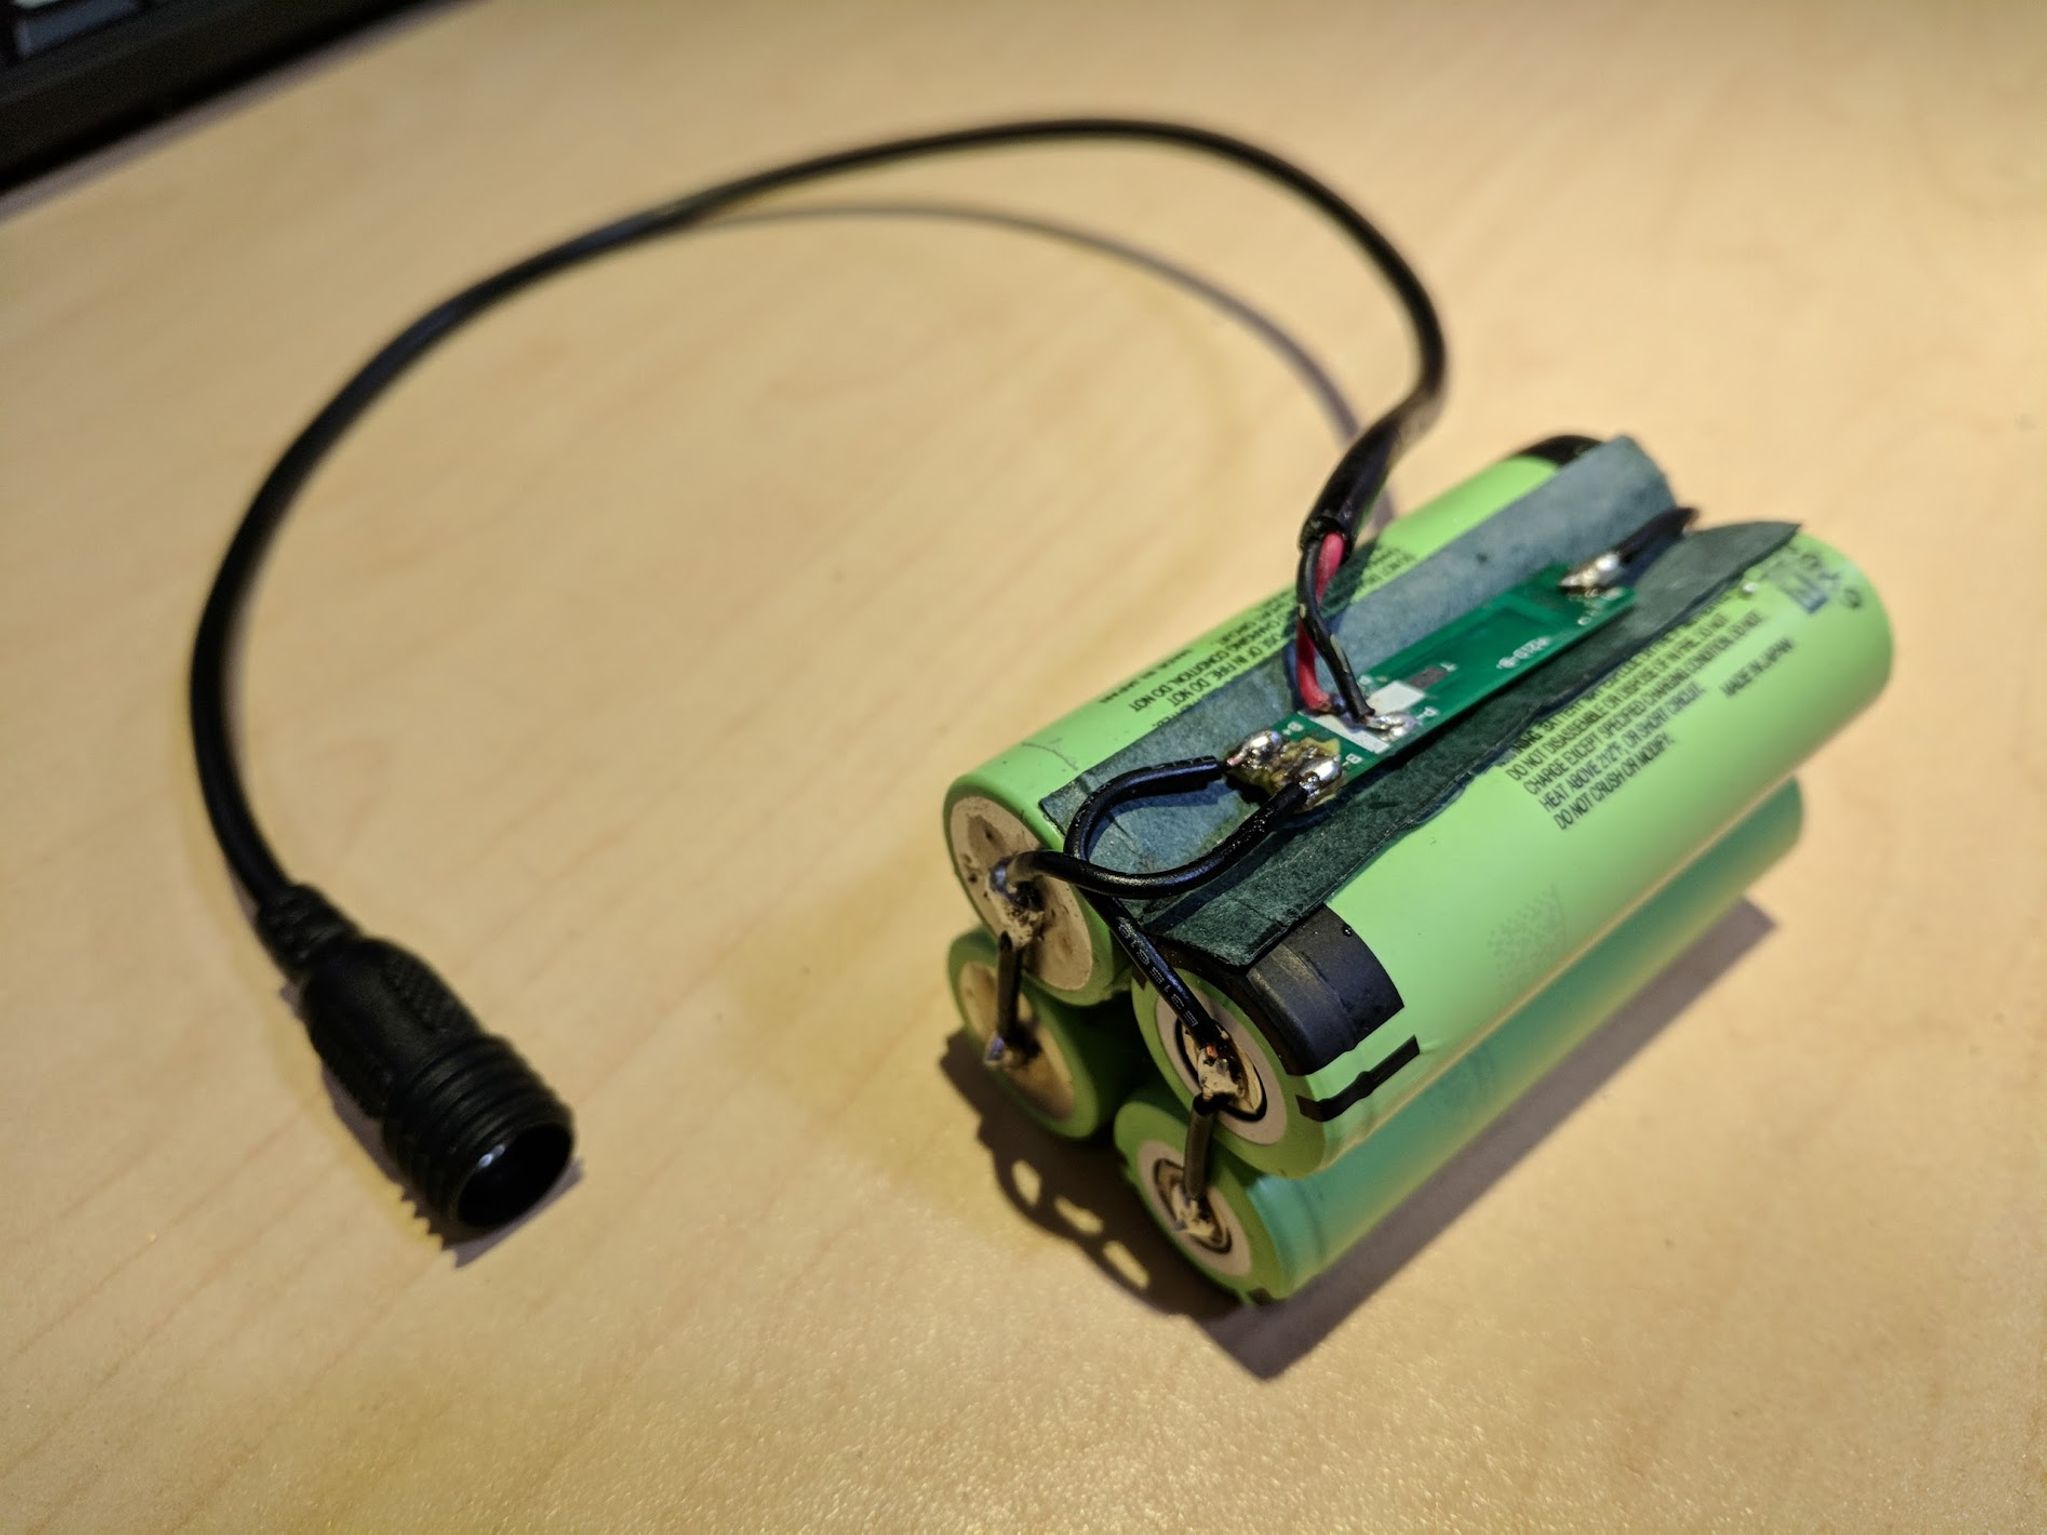
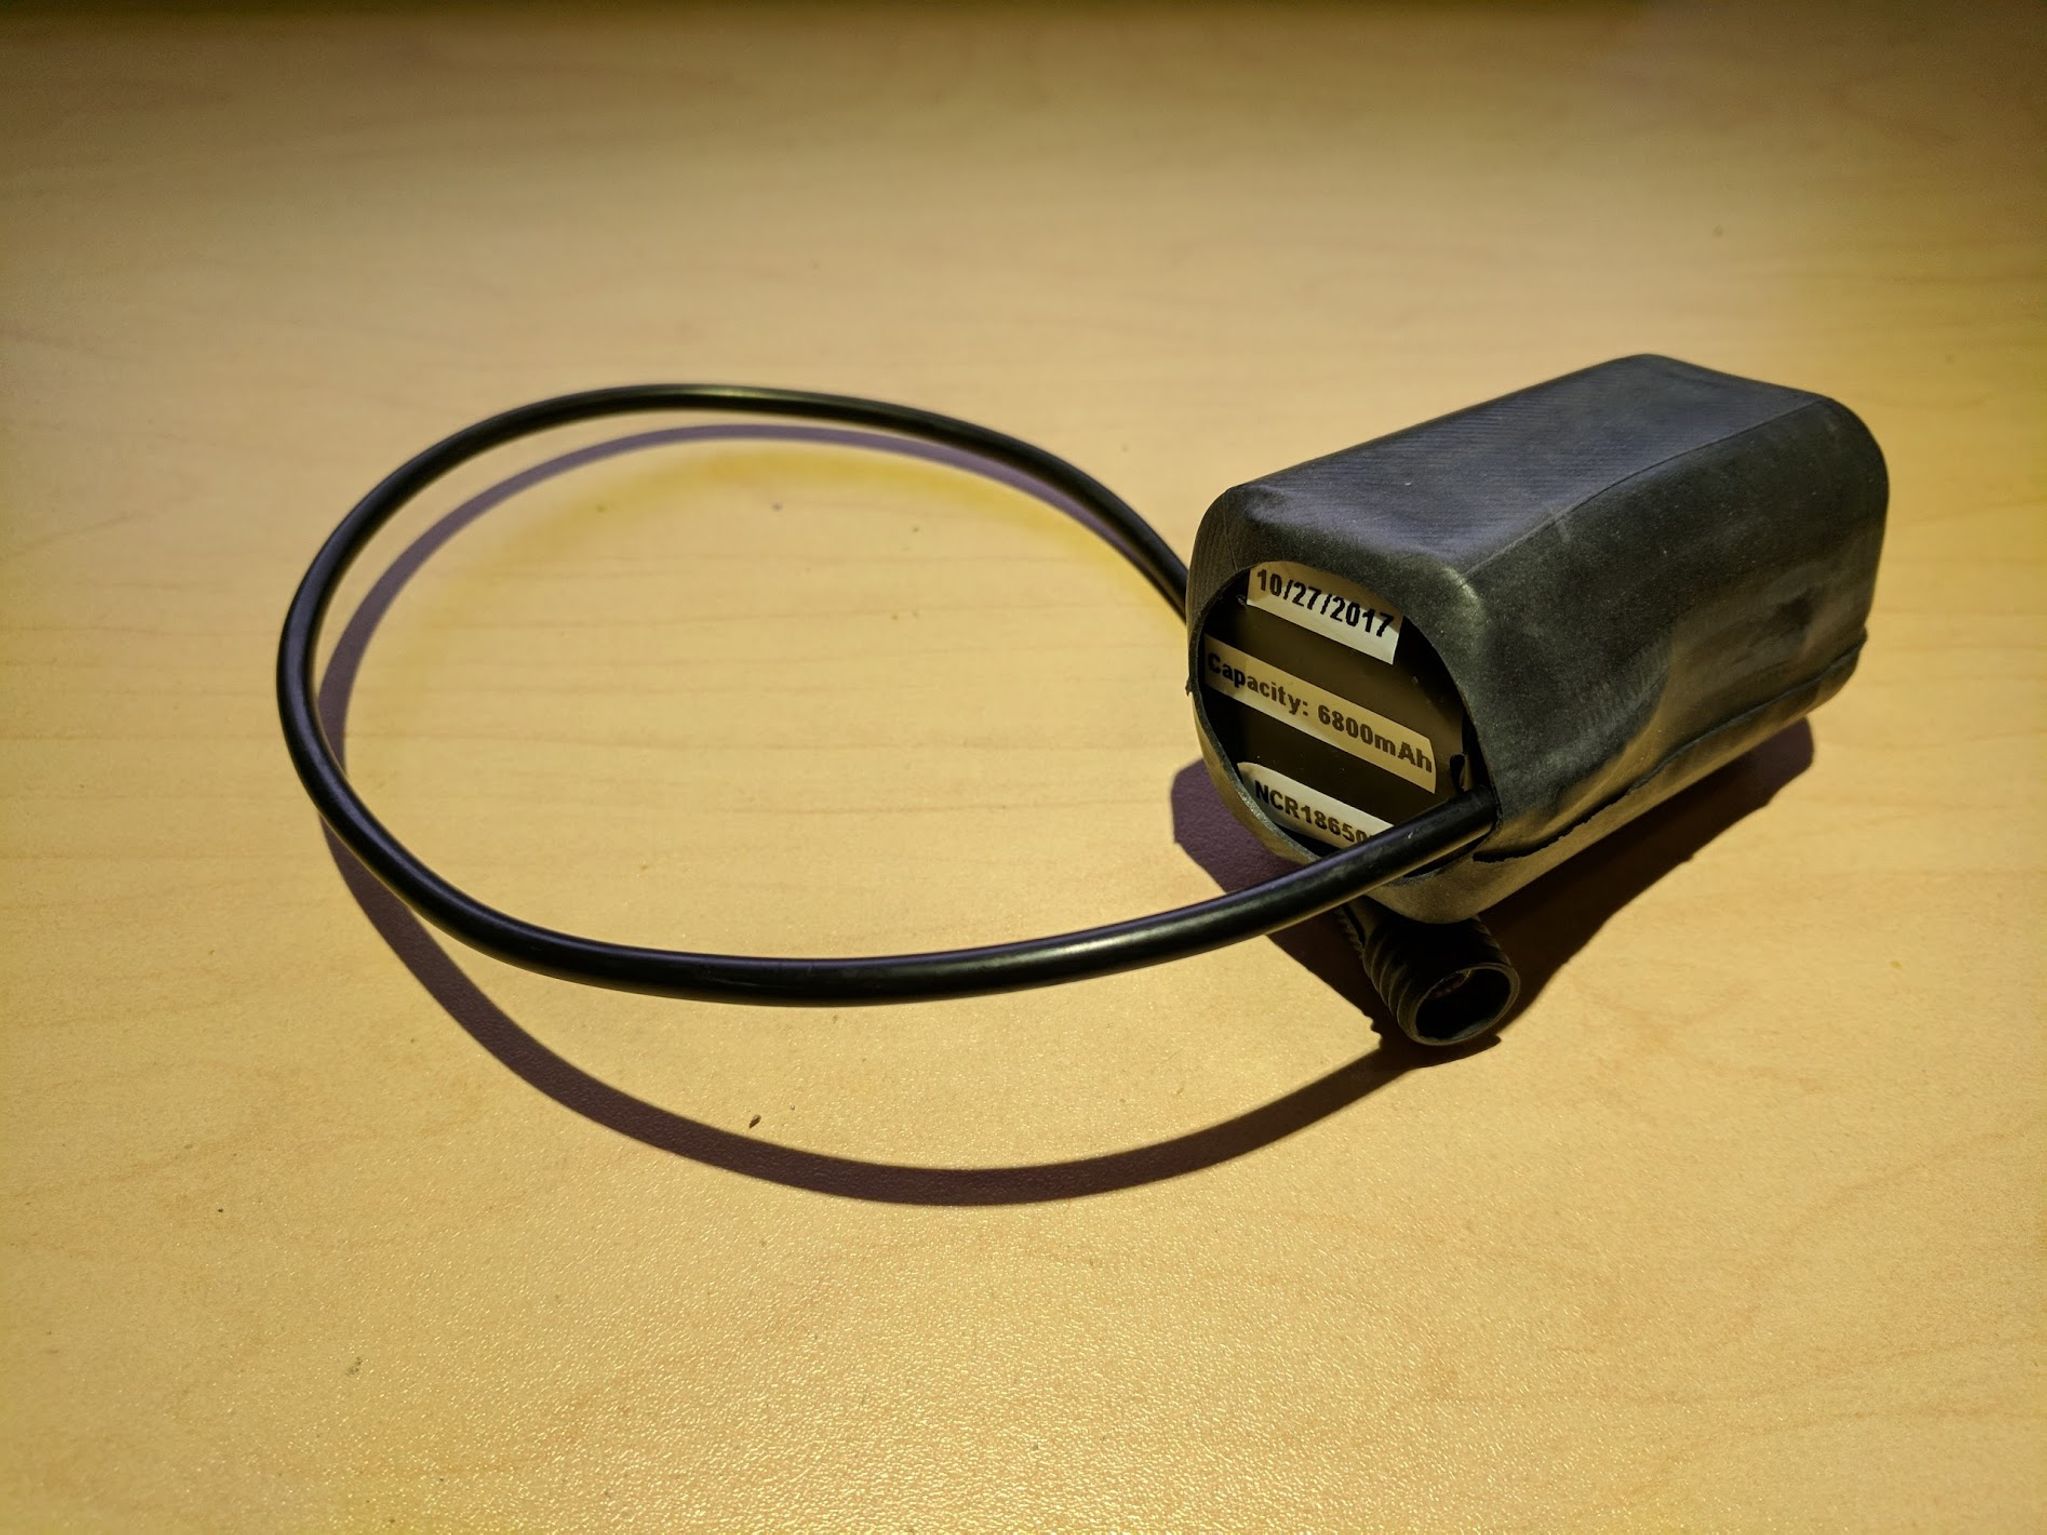
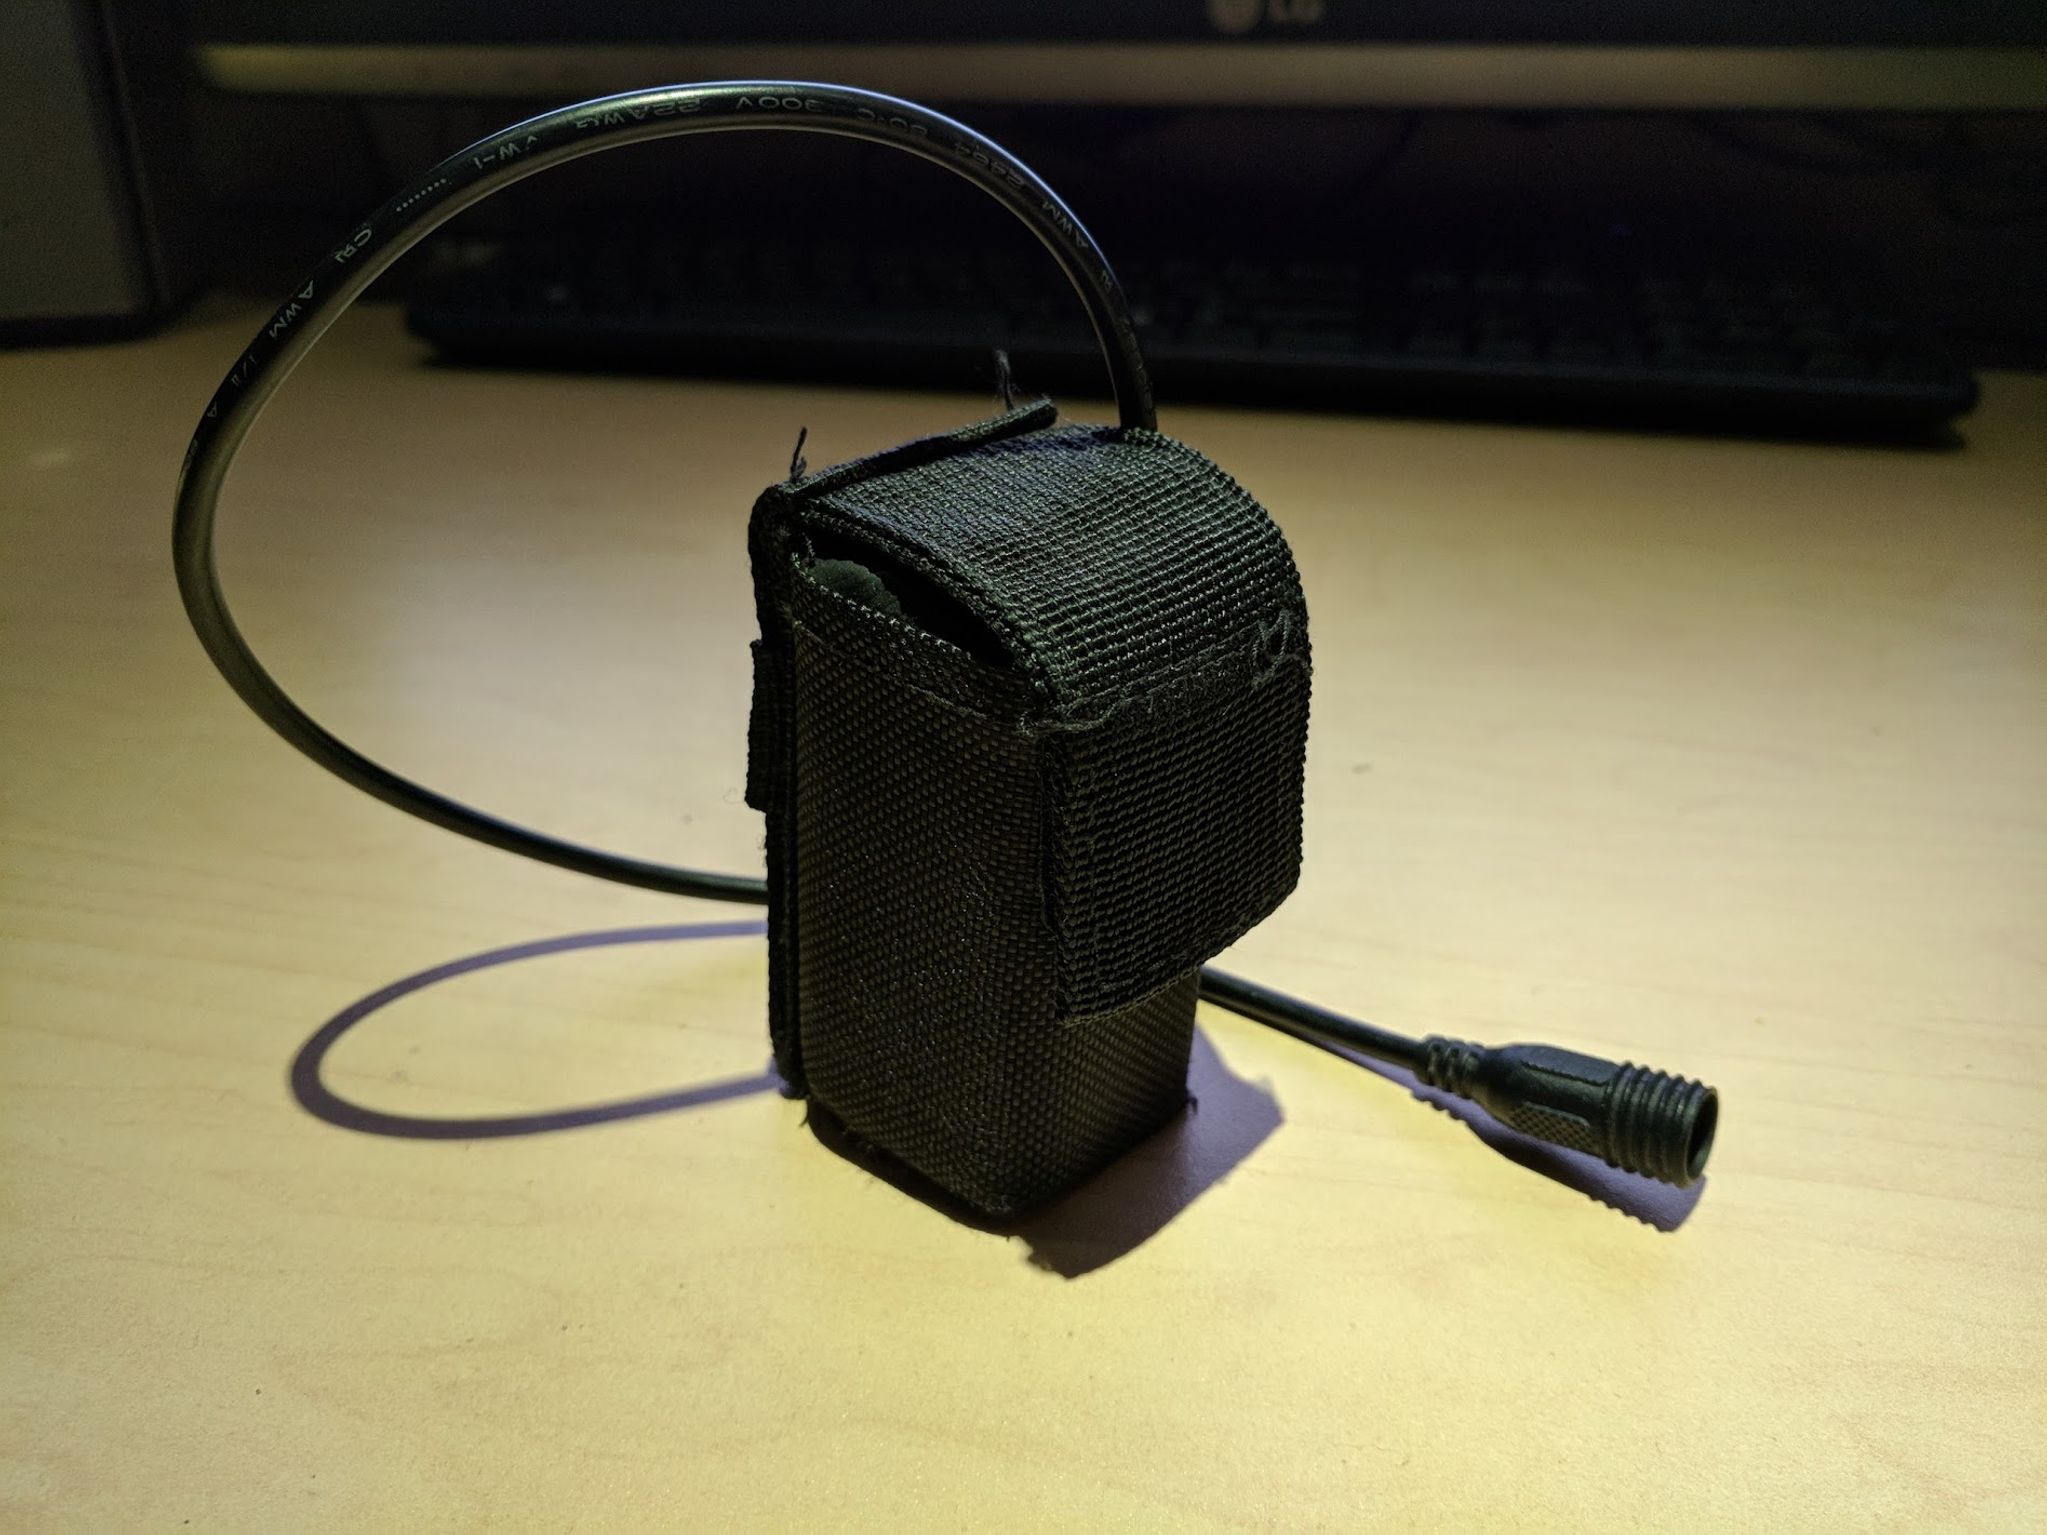
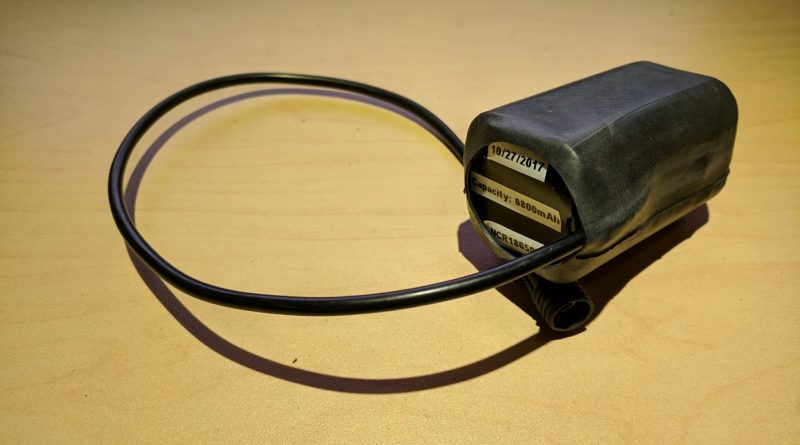
Most bike lights use a 5.5mm OD/2.1mm ID DC plug for connectivity. The BMS (Battery Management System) circuit that comes with the cheap packs is fine so it was reused. I decided to pick up 4x Panasonic NCR18650B 3400mAh cells from a trusted source due to many counterfeits out there. These are top of line cells and most if not all high end manufactures swear by them. These were then soldered in a 2S2P (2 in series and 2 in parallel) configuration yielding a 6800mAh 7.4V battery pack.
Total cost: $45
Time taken to build: 2 Hrs
Total burn time on a 1600 Lumens light head with 4x CreeXP – G2 emitters @ highest setting: 5 Hrs
