9Point8 Fall Line Air Leak
Like any other moving part, dropper posts require maintenance. Luckily, Nine Point Eight posts are fully user serviceable and do not require any specialty tools (Except their “Brake Release Tool” which is essentially a M7 threaded rod and a nut). Their YouTube channel contains detailed and easy to follow maintenance videos.
Symptoms
- The post works fine right after adding air to it but over time stops extending.
- The dropper post is failing to hold air pressure.
Basic troubleshooting
- Ensure there is sufficient lubrication for the post to work properly. Refer to my article: Link
- Perform a leak test.
Leak Test
- While on the bike, pressurize the dropper post as normal.
- Drop the post all the way down.
- Remove the post from the bike.
- Fill a large baking dish with water and fully submerge it.
- Look for air bubbles around the wiper seal. Video below shows what a leak looks like.
Warranty Process
9point8 honors a 2 year warranty on material defects and a leaking air seal is one of them.
I contacted their Support Team with the leak test video. I was given two options:
- Send the post to 9Point8 and have them rebuild it free of charge
- Have the required parts sent to me.
Installation of the SSR kit is a fairly involved process and it is recommend letting the professionals at 9Point8 do it. It was just one week from my Provincial Championship Race so I needed the post serviced ASAP. Having worked on suspension parts and a KS Lev dropper before, I decided to give this a go myself. I was sent a “Seal Support Ring Warranty Repair Kit” Part #0000-1055 Link to Store
As per 9Point8:
“The SSR is a new development. It improves the reliability of the primary X-ring air seal in the Fall Line dropper post. It is a sophisticated component that requires careful installation to prevent damage and to ensure performance. It works by better containing and pre-loading the x-ring to seal more reliability in our low pressure reciprocating application. It has a crushable element to perfectly conform to the height of the new X-ring, and a spring element to maintain seal loading.”
My first contact with support was on Wednesday at 5 PM (after working hours) By Friday afternoon I had all the parts delivered to my doorstep free of charge. By Friday evening I had the post working 100%. Incredible turn around time if you ask me!
SSR (Seal Support Ring) Kit Installation
Tools Required:
- Park Tool FR-5.2 or equivalent Cassette lockring tool without guide pin.
- Crescent wrench or 1″ wrench for FR-5.2
- 11 mm wrench to operate the brake release tool
- Pliers
- Flathead screw driver
- Piece of inner tube
See official instructional video below
In addition to this video, the SSR Kit comes with special instructions/guidelines. Download Special Installation Supplement here: SSRInstallationInstructionsSupplement
Installation Summary
Secure the Fall Line in a bike stand.
Thread in the brake release tool, release the brake, drop the post all the way. Use a crescent wrench to remove the bottom nut.
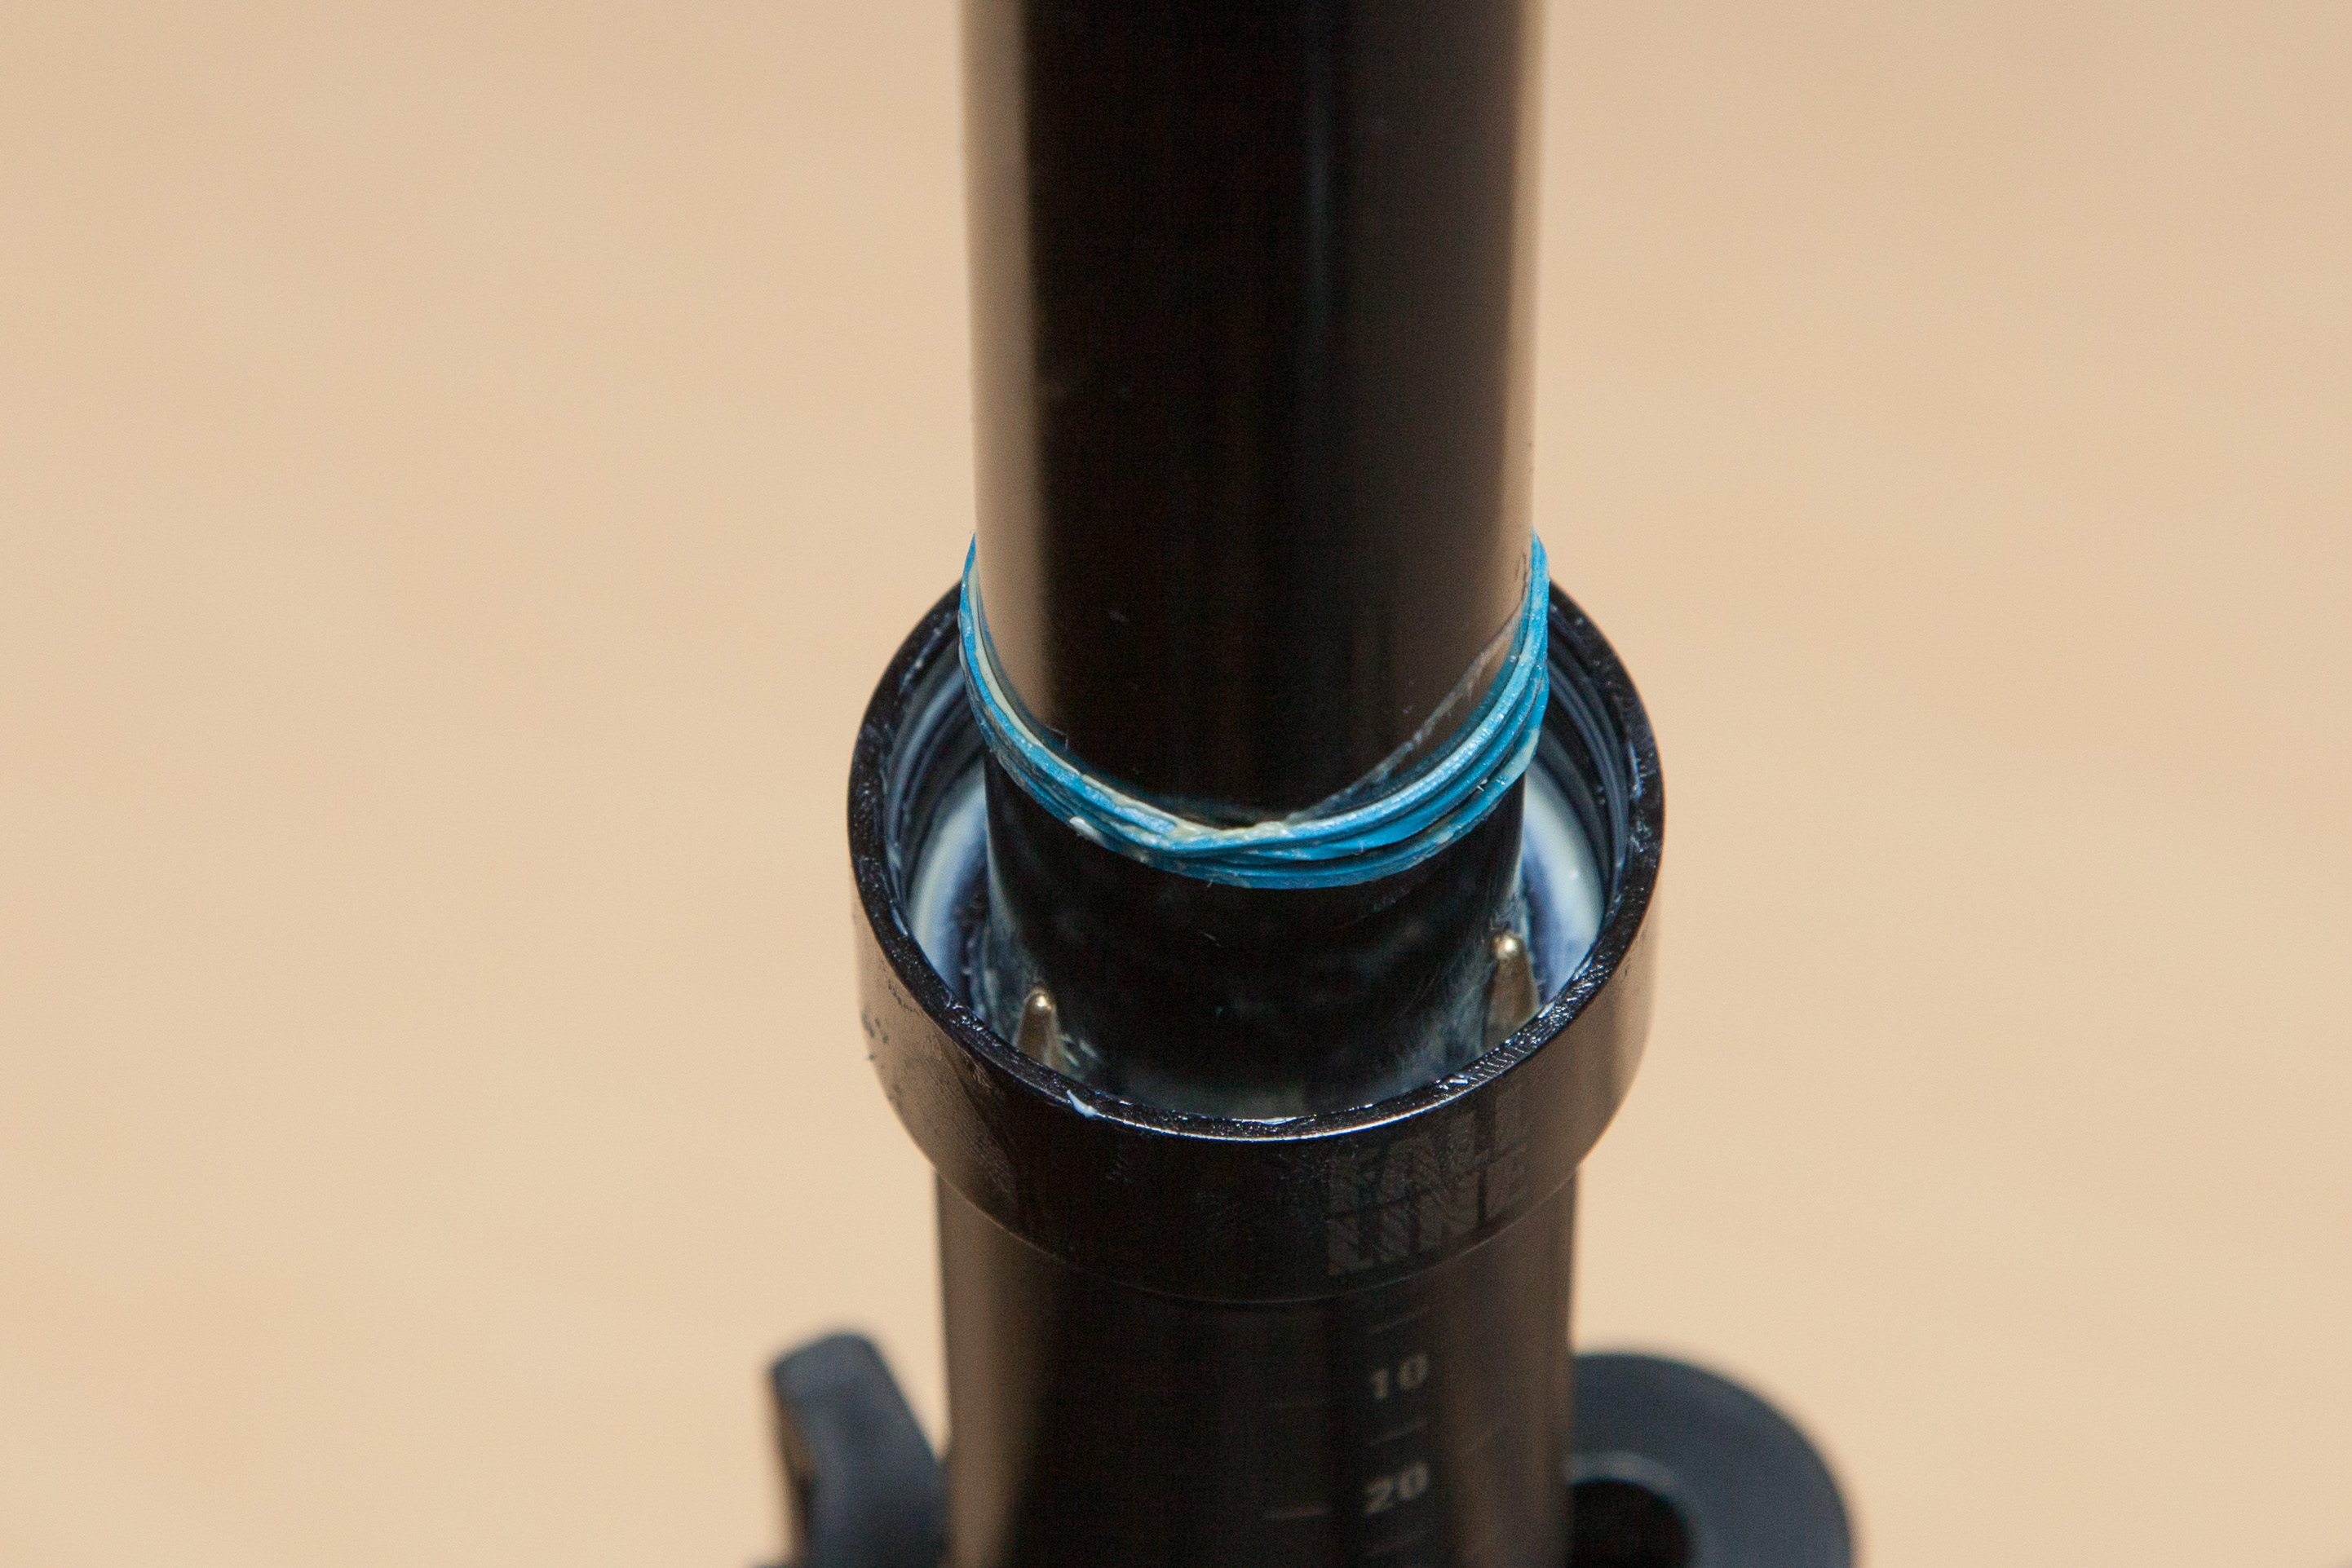
Pull the brake shaft up until the dimples can be seen. These dimples are an excellent addition for gripping your pliers. Other suspension and dropper manufactures should take note. Remove the brake tool to engage the brake. There was some sort of date marking possibly indicating when the post was assembled.
Grip the shaft at the dimples using pliers with some inner tube. Remove the bottom nut by undoing it counterclockwise. It is tightened to 3.5-4 nm so it shouldn’t take too much torque.
Once the bottom but is out, carefully pull out the upper tube. Expect the spring loaded keys to fall out. There was a lot of crusty old grease accumulated at the bottom of my post.
All seals from top nut, o-rings from the bottom nut and bushing from the upper tube are removed. Everything is thoroughly cleaned using Isopropyl Alcohol.
Pictured from left to right: Obsolete foam ring carrier, old x-ring, old wiper seal, old top nut o-ring.
New wiper seal and o-ring installed and greased for installation.
New X-ring greased and ready to be seated in the top nut. This seal is responsible for retaining air pressure inside the post.
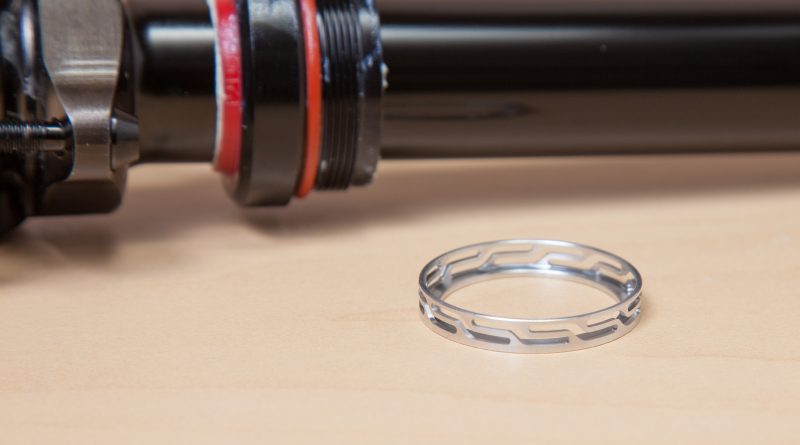
This is the new SSR (Seal Support Ring). Take a look at this beautiful piece of hardware. It is responsible for keeping pressure on the X-ring allowing a tight air seal.
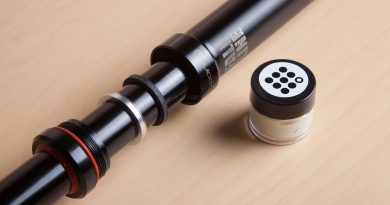
SSR greased and installed. Next is the foam ring that helps with lubrication on the upper tube. The foam ring is greased and carefully seated in the SSR.
Now the most difficult portion of the install: Re-installing the spring loaded keys.
After 6 or so tries I was able to get the keys seated in the raceways. For my next rebuild i’ll be ordering their Key Install Tool found here: Link to Store
Now we just need to re-assemble the post in reverse order: Screw the top nut, then secure bottom nut to brake shaft @ 3.5 nm. Hand tighten the bottom nut to the housing and pressurize the post. A leak test can be performed once again to ensure there is no air leakage. Mount it back on the bike and we are all done! Here it is mounted and fresh P10L grease working it’s way through the seals.
Bike is ready to rip with minimal downtime!
Conclusion
It is evident once again that 9Point8 makes excellent dropper seat posts and has good customer service to back them up. It took 2 days from issue identification to resolution. Highly recommended!


